With the recent changes to the Prophecy loot pool, including the addition of Trials of the Nine weapons and updated perk pools for the remaining weapons, it is natural that players may want a refresher on how Prophecy actually works.
This guide will provide some quick tips, a fireteam composition, and a step-by-step guide on completing each area of the Prophecy Dungeon.
Quick Tips
Vehicles can be summoned in every transition section between encounters. However, they cannot be summoned during encounters (Phalanx Echo, Hexahedron, or Kell Echo).
Players can skip the opening section by jumping on the first golden orb and climbing the tunnel to the top, allowing players to simply jump to the first encounter area.
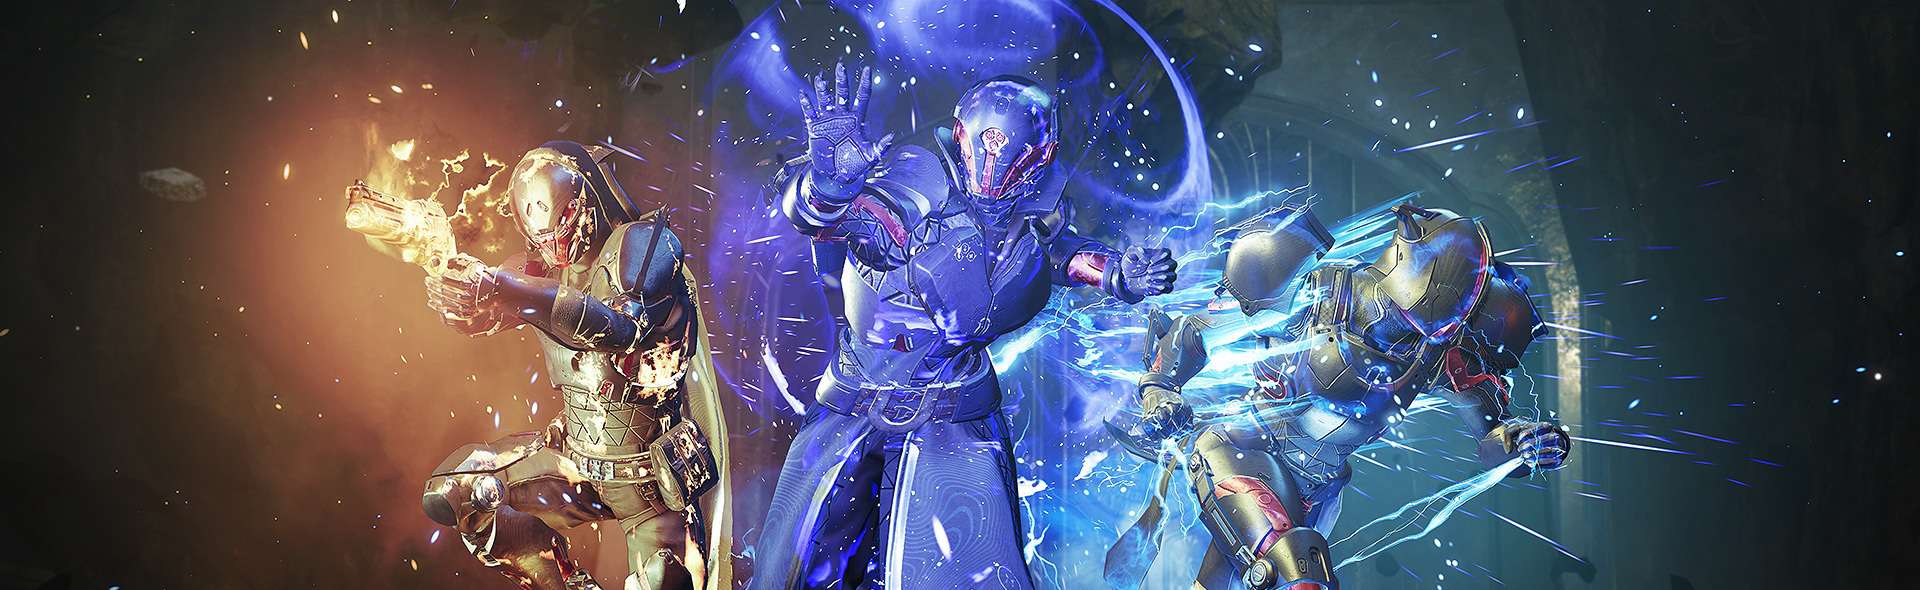
Fireteam Composition
While every Dungeon comes with unique challenges, Prophecy is one of the easier Dungeons in the game, meaning players can get away with running any Fireteam setup they choose.
More experienced players may choose to run high-damage setups, while some groups may prefer to have a Well of Radiance. Both can work, and it is up to you to decide which you prefer. If you don’t have a consistent Fireteam at your disposal, you can find great groups using LFG Discord.
The loot table
We cover the entire Prophecy loot table here, including armor sets and legendary weapons:

Prophecy Loot Table (new), Destiny 2
Opening Section
This section teaches you the primary mechanic of this Dungeon: Motes. There will be columns of Light or Dark, and to cleanse them, players must obtain 5 Light Motes or 5 Dark Motes. Once obtained, players will move to a third-person camera and can cleanse the pillars.

Prophecy’s Light and Dark mechanics, Destiny 2
To determine which Motes will drop, players must stand in a specific location. Certain areas will be in the shadows, and others will be in the light. If you are standing in bright areas, Light Motes will drop, and if you are standing in darker areas, Dark Motes will drop. An easy way to tell where you are is by the wisps on the borders of your screen, as they will either be Light or Dark.
You have to go through two rooms before you reach the first encounter, so get to grips with the mechanic, as it is the primary mechanic (and pretty much the only one) throughout the entire Dungeon.
Phalanx Echo
This encounter is incredibly fast and straightforward to complete. The Light and Dark columns will be above specific platforms, and players must cleanse each column to begin damaging the boss. Typically, there will be an even split between the number of Light and Dark columns, but it can sometimes be a 3/1 split instead.
Running to the orb in the middle of the arena will begin the encounter. Upon starting the fight, clear as many adds as possible while taking care of the Knights. Remember, standing in bright areas gives Light Motes, and standing in the shadow gives Dark Motes.

Phalanx Echo encounter, Destiny 2
Once you have coordinated with your team on what pillar to cleanse first, have one or two players collect the Motes and cleanse the pillars upon reaching 5. Repeat this until all pillars are cleansed.
Once the final pillar has been cleansed, the boss will become vulnerable. Dropping a Well of Radiance and using damage Supers like Golden Gun, Burning Maul (with Pyrogale Gauntlets), and any damage weapon will easily kill the boss. This boss has very little health, meaning that practically any combination of a damage Super and heavy weapon will be able to take him down.
The Wasteland
Once the Phalanx Echo has been defeated, collect your loot and drop down into The Wasteland. This area is like a massive desert, with a couple of objectives before you can progress to the next encounter. Remember that you can summon a vehicle here to make traversal quicker.

The Wasteland encounter, Destiny 2
Locate the area with Taken Blights and move to it, clearing out any nearby enemies. Once it is safe, destroy the three Taken Blights and go to the orb in the centre of them all. This will then trigger the spawn of another set of Blights in a different area. Three different areas must be cleared before progressing to the second encounter. Upon clearing the third area, the text ‘The way is open…’ will appear in the bottom left, signifying you to go to the next encounter.
There will be big yellow-bar Minotaurs in the area, but they can generally be ignored as killing them isn’t necessary to progress the encounter.

The Wasteland’s Minotaurs, Destiny 2
Cube Room/Hexahedron
Start the encounter by standing on the plate with the orb on it. This will trigger the spawn of several enemies, including some Taken Hobgoblins. Killing one will trigger the spawn of a Mote-dropping Knight.

Hexahedron encounter, Destiny 2
Each side of the room has a plate on it, and the orb will be hovering by one of them. Simply cleanse the pillar beneath the orb and head up the lift on the middle plate to progress the encounter. There is a chance that the orb will be on the plate on the ceiling, meaning that you will have to complete two cycles, but this only adds a couple of extra minutes.
Locating the orb and cleansing a pillar must be completed six times. Once this process is finished, two Centurion Echos will spawn. These enemies are very weak and will die very quickly. Once both are defeated, the loot will drop, and players can progress to the next traversal area.

Prophecy’s Centurions, Destiny 2
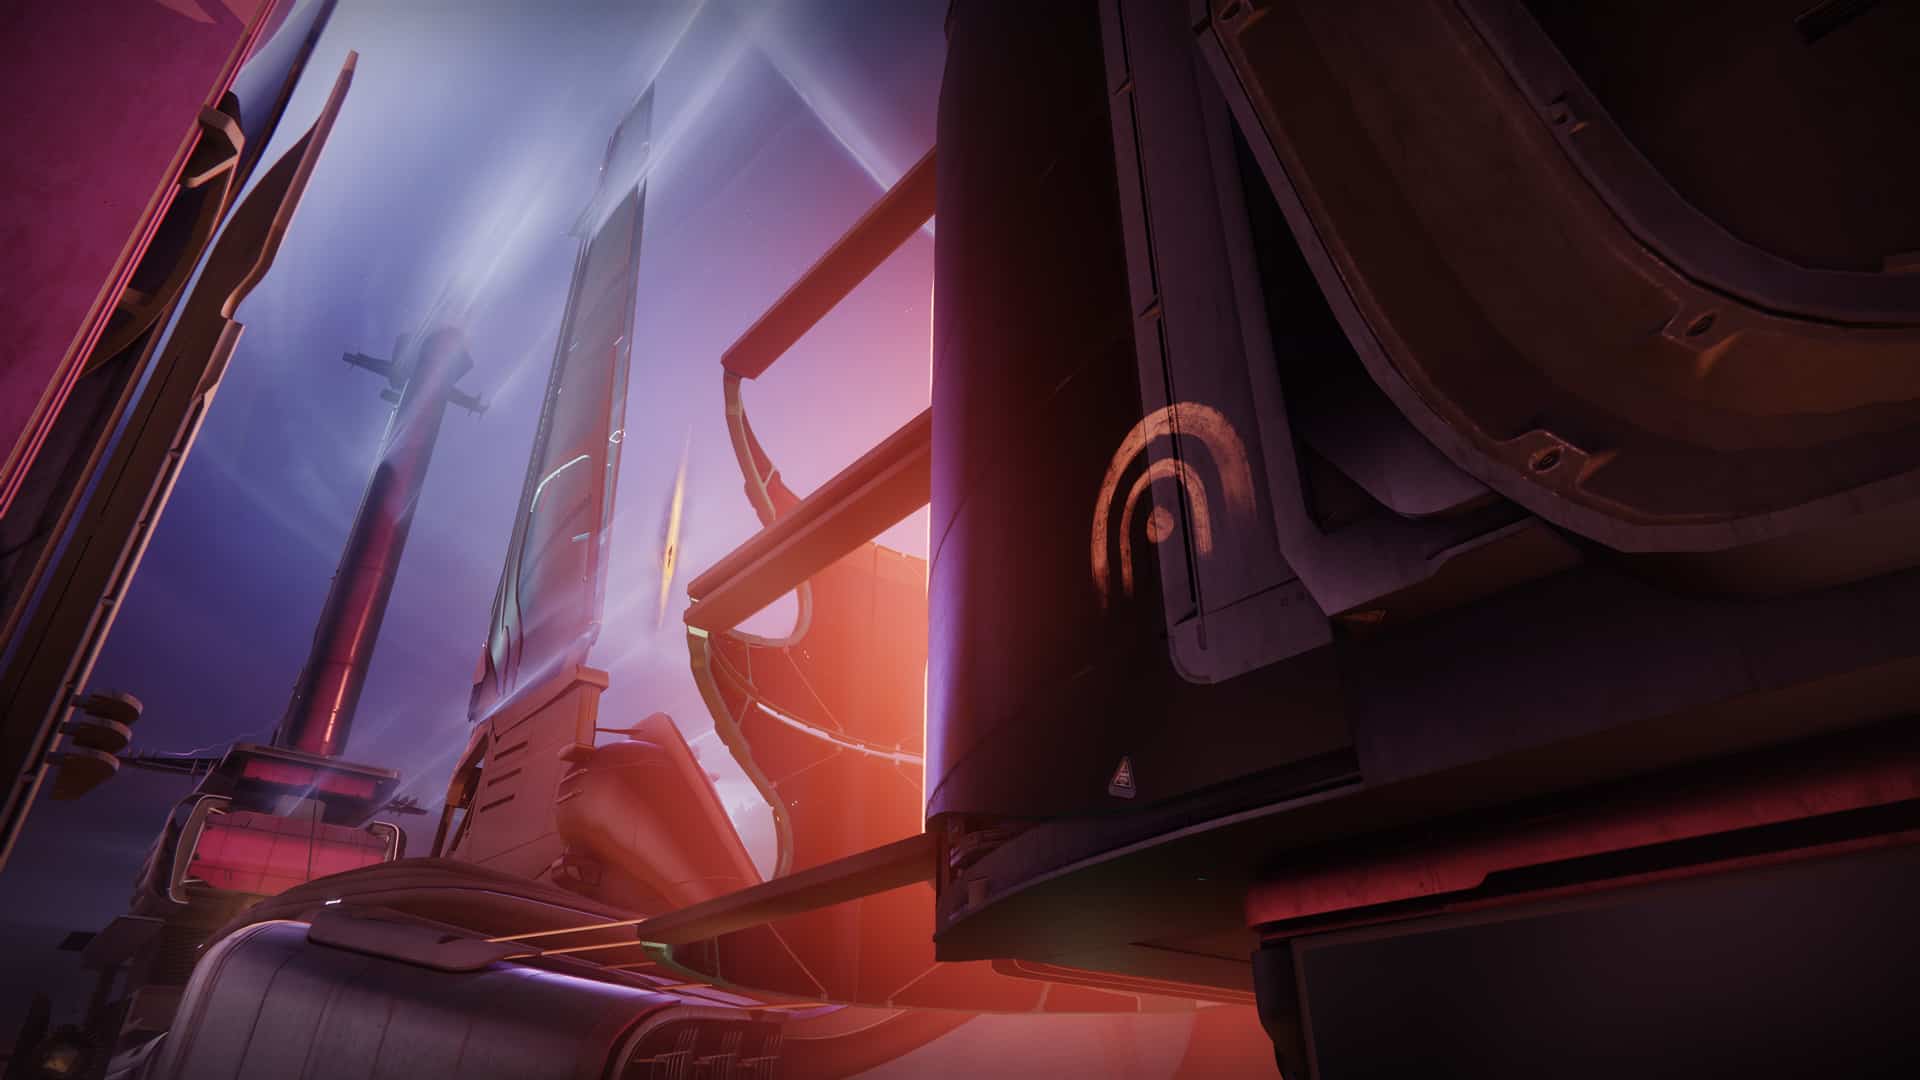
Deadsea
Once you have completed the Hexahedron encounter, players must traverse the Wasteland once more to the Deadsea.
This area doesn’t have mechanics, but players can get lost on where to go. Simply follow the ribbons as far as they go, and you should be alright.

Prophecy’s Deadsea, Destiny 2
Players can also use the new vehicle, Skimmers, to glide down to the bottom. Simply fly towards the giant pyramid in the sky at the back and jump down to the platform at the bottom, taking the lift up into the pyramid.
Kell Echo
To start the encounter, walk to the orb in the middle of the arena. Following the trend of previous encounters, players must cleanse each pillar to reach the damage phase. Upon cleansing a pillar, an Ogre will spawn, but they aren’t much of a threat. On top of this, cleansing a pillar will eliminate the boss on that side, meaning the encounter gets easier the further you go.

Kell Echo encounter, Destiny 2
Once all three pillars have been cleansed, move to the middle of the arena to be sucked down into the boss arena.
In this room, players must damage the boss while jumping between platforms as the boss gradually moves away from them. In addition, players must stay within a certain distance of the boss to avoid gaining stacks of the debuff ‘Dark Entropy’. If this debuff reaches 11 stacks, they will die. To know how close you have to be to the boss, you can look at the big ring around her, and as long as you are within that ring, you will not gain stacks of Dark Entropy.
To make the boss stay in one spot longer, you must deal consistent damage to stagger her. While she will eventually teleport away, staggering her animations will prevent her from leaving as soon as she normally does.
This boss doesn’t have too much health, but if you can’t one-phase her, don’t worry. Simply repeat the previous steps to reach another damage phase and take her down in the next one.
Collectibles
If you’re interested in finding the 12 collectibles hidden within Prophecy, this is a great video to bookmark.
Before you go…
While you can farm Prophecy whenever you want, we recommend waiting and only farming whenever Prophecy is the featured weekly dungeon.


0 Comments