Do you want to take your game to the next level? Destiny 2 is not only about having a good aim or even good positioning. If you want to succeed in PvE, you also have to have the right gear. The right Exotics, weapons, mods, and, more importantly, the right build.
And while we already covered the top builds per class for PvE and PvP (links to those below), this guide covers every single viable build we have for PvE in Season 19.
Destiny 2 builds per Class
If you’re looking for a much more specific build to match your preferred Subclass (or the weekly Surges), you can find below all of our builds organized by subclass.
![]() Updated as of Season of the Wish (S23). See Updates.
Updated as of Season of the Wish (S23). See Updates.
Destiny 2 builds per subclass
Destiny 2 Best Builds per Class
If you’re in a rush and just want the absolute best builds per class right now, below we cover our favorites (and most lethal) builds right now:
Top Hunter PvE Builds
| -- | Name | Subclass | Rank | Excels in | Gear | Area | Class | Status |
|---|---|---|---|---|---|---|---|---|
 | Combination Gambler | 1 🥇 | Endgame |   | PvE | Hunter | Top 3 | |
 | Stealthed Gyrfalcon | 3 🥉 | Endgame |   | PvE | Hunter | Top 3 | |
 | Radiant Assassin | 2 🥈 | Solo Content |   | PvE | Hunter | Top 3 |
Top Titan PvE Builds
| -- | Name | Subclass | Rank | Excels in | Gear | Area | Class | Status |
|---|---|---|---|---|---|---|---|---|
 | Berserker of War | 1 🥇 | Endgame |   | PvE | Titan | Top 3 | |
 | Undying Flame | 3 🥉 | Grandmasters |  | PvE | Titan | Top 3 | |
 | Abeyant Leap | 2 🥈 | Endgame |   | PvE | Titan | Top 3 |
Top Warlock PvE Builds
| -- | Name | Subclass | Rank | Excels in | Gear | Area | Class | Status |
|---|---|---|---|---|---|---|---|---|
 | Radiant Sunbracer | 1 🥇 | Endgame |   | PvE | Warlock | Top 3 | |
 | Masked Navigator | 3 🥉 | Endgame |   | PvE | Warlock | Top 3 | |
 | Void Leech | 2 🥈 | Grandmasters |   | PvE | Warlock | Top 3 |
Top 3 Destiny 2 Meta Builds: Hunter
Combination Gambler
Excels in: Endgame (Dungeons, Raids, Legend content)
Goal of the Build: Stack up Combination Blow and slay with your Arc abilities while striking from the shadows.
Mandatory Gear: Assassin’s Cowl. A One-Two Punch shotgun is recommended.
 Name: Assassin's Cowl | Class: HunterSlot: Helm | Source: Exotic EngramsRequires: Shadowkeep | Exotic Perk: Powered melee final blows grant invisibility and restore a portion of health and shields. Finishers and final blows against more powerful targets increase the duration of the invisibility and the amount of health and shields. |
 | Dead Weight | Shotgun | Playlist: Gambit |
- Aspects: Lethal Current and Flow State.
- Fragments: Spark of Resistance, Spark of Feedback, and Spark of Shock.
- Abilities: Gathering Storm, Gambler’s Dodge, and Combination Blow. Storm Grenades and Pulse Grenades are both strong.
- Stats Priority: Max Resilience 🡒 Discipline.
- Mods:
- Helmet: Hands-On, Heavy Ammo Finder, Dynamo.
- Arms: x2 Heavy Handed and Impact Induction.
- Chest: Resistance Mods based on your enemies.
- Legs: Weapon Surge Mods matching your equipped weapons.
- Class Item: Powerful Attraction, Bomber, Distribution.
Gameplay Loop
This gameplay loop is relatively simple on the surface. However, as you weave more techniques and abilities into the Melee>Dodge>Melee combo, it becomes slightly more complex.
Stacking Combination Blow to x3 is your main goal. Once you do this, you will be able to 1-punch all squishy enemies and will be able to 1-2 Punch Shotgun all other enemies besides bosses.
Due to the insane number of Orbs of Power you will be making, equipping the Hands On mod will help you generate your Super very quickly, allowing you to rip through minor and major enemies alike.
This build is quite tricky to use, especially for a less experienced player in higher-level content. However, mastering it will allow you to take on practically all types of content, regardless of the difficulty.
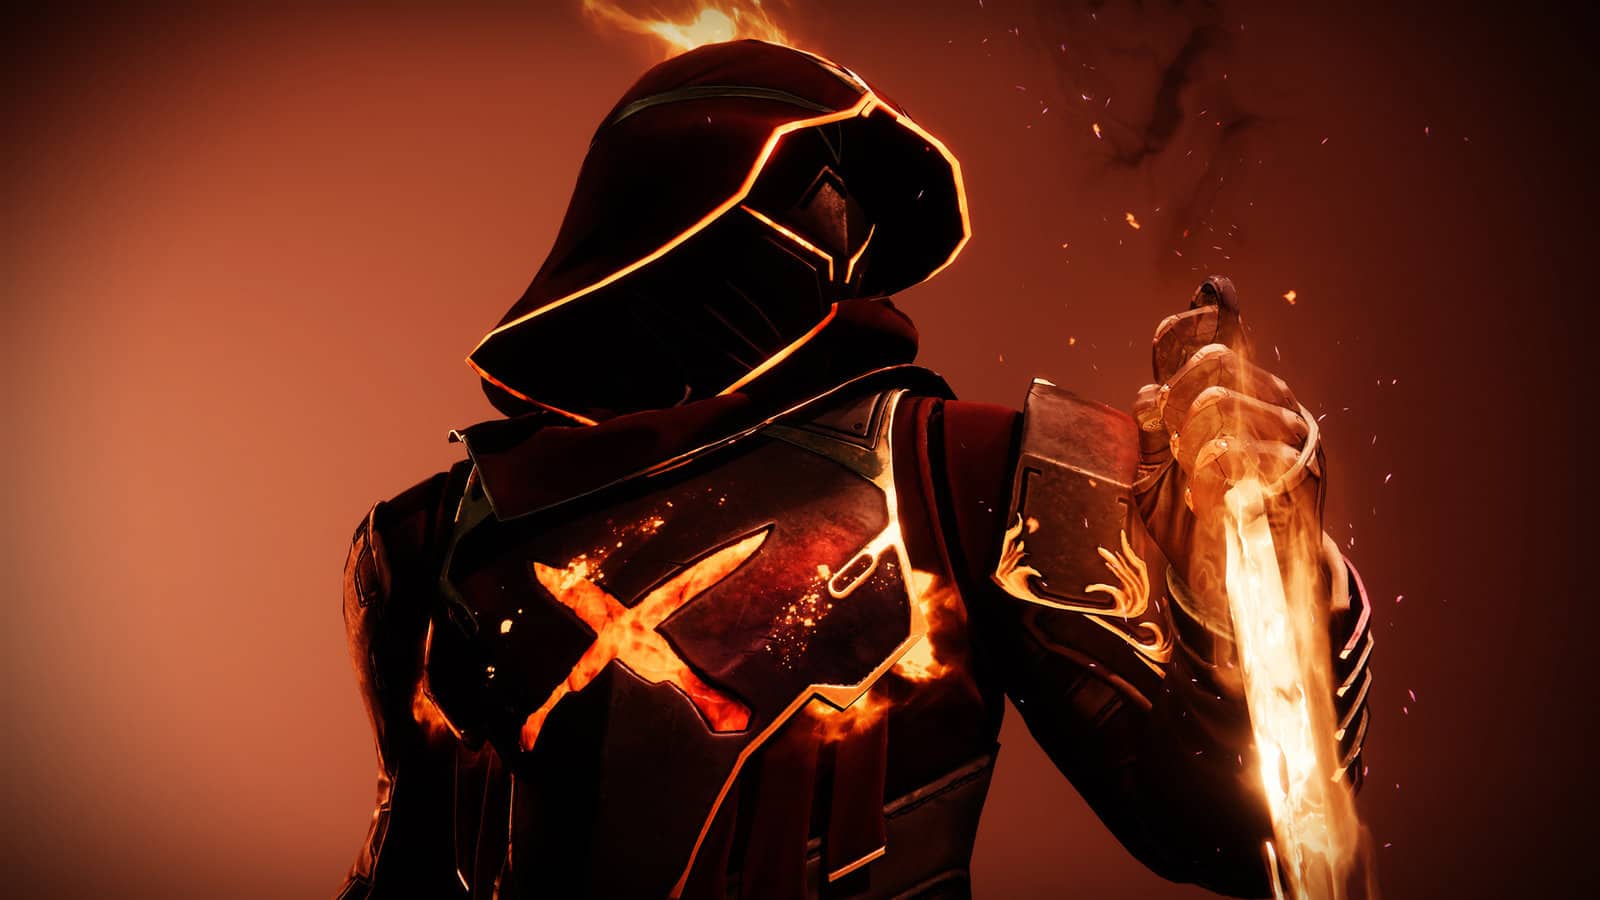
Radiant Assassin
Excels in: Solo Content
Goal of the Build: Have infinite survivability through invisibility and a constant source of healing by having access to unlimited throwing knives.
Mandatory Gear: Assassin's Cowl
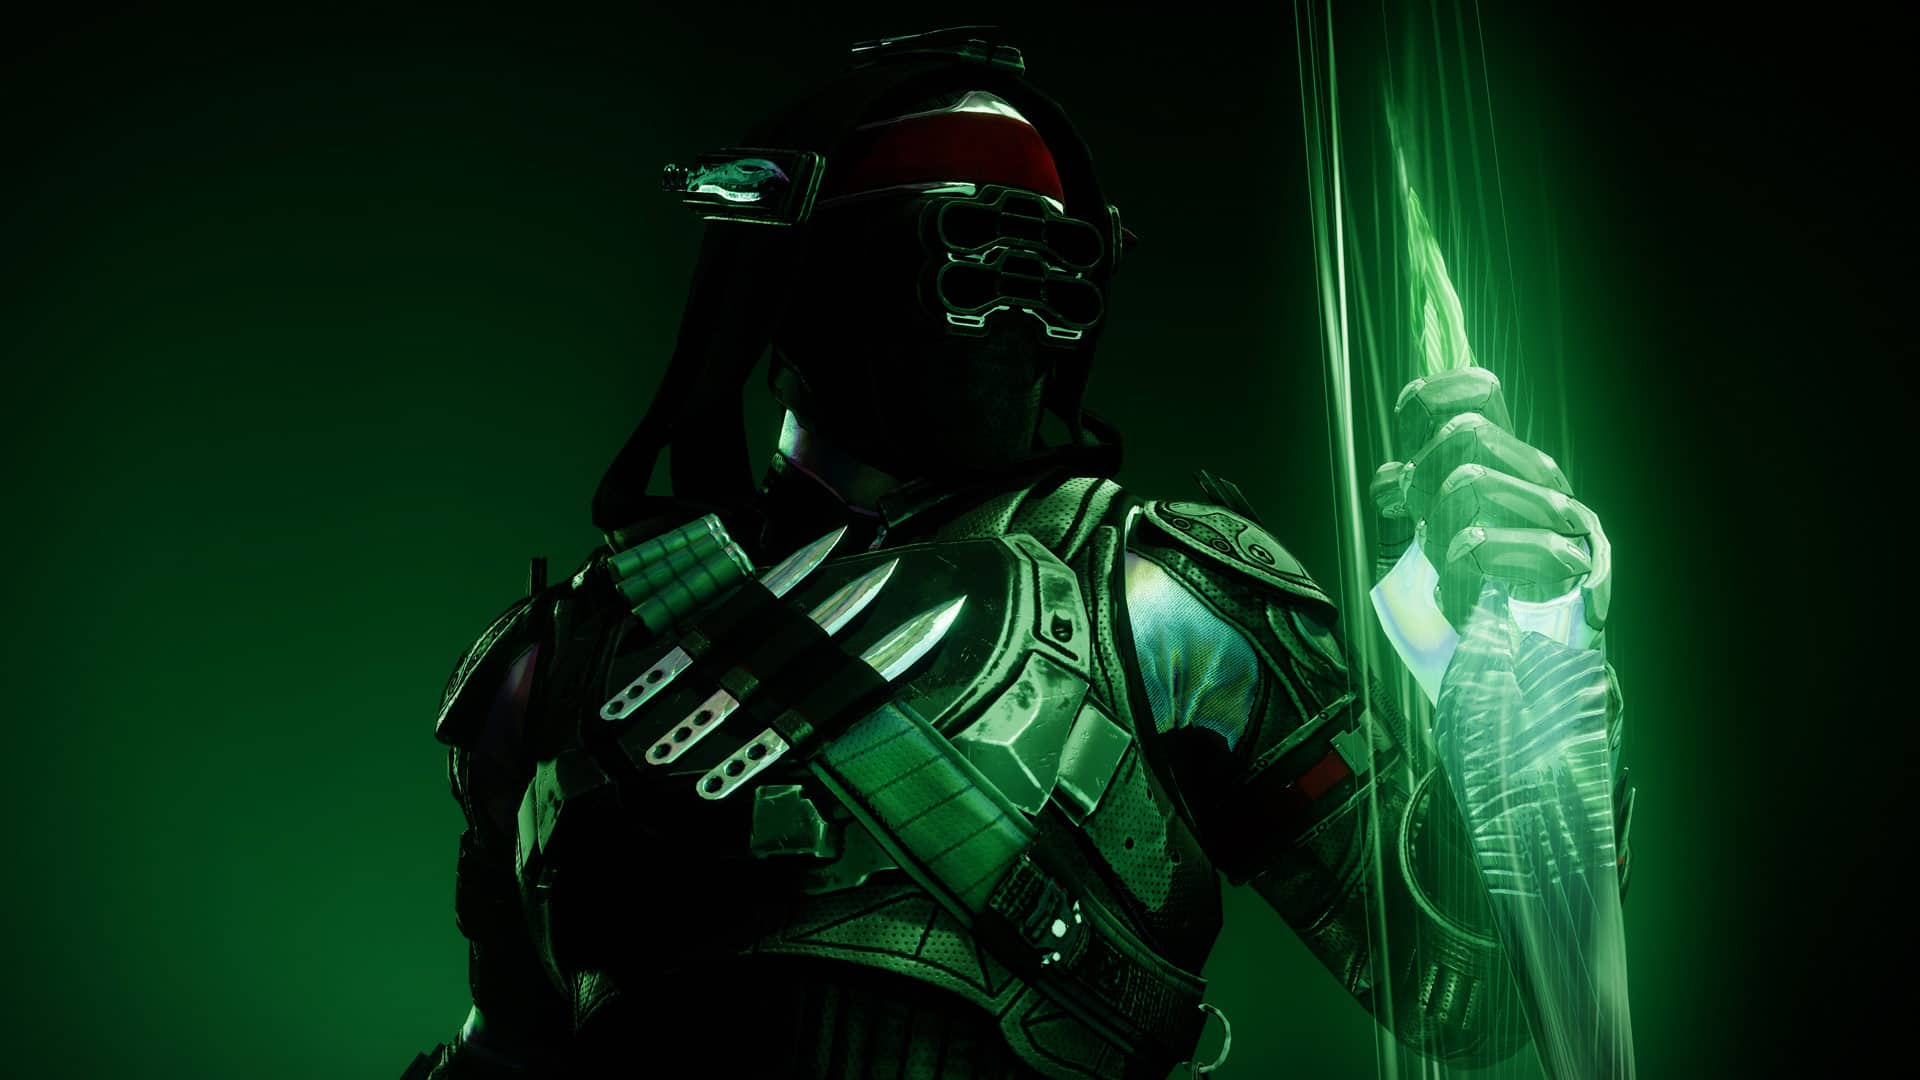
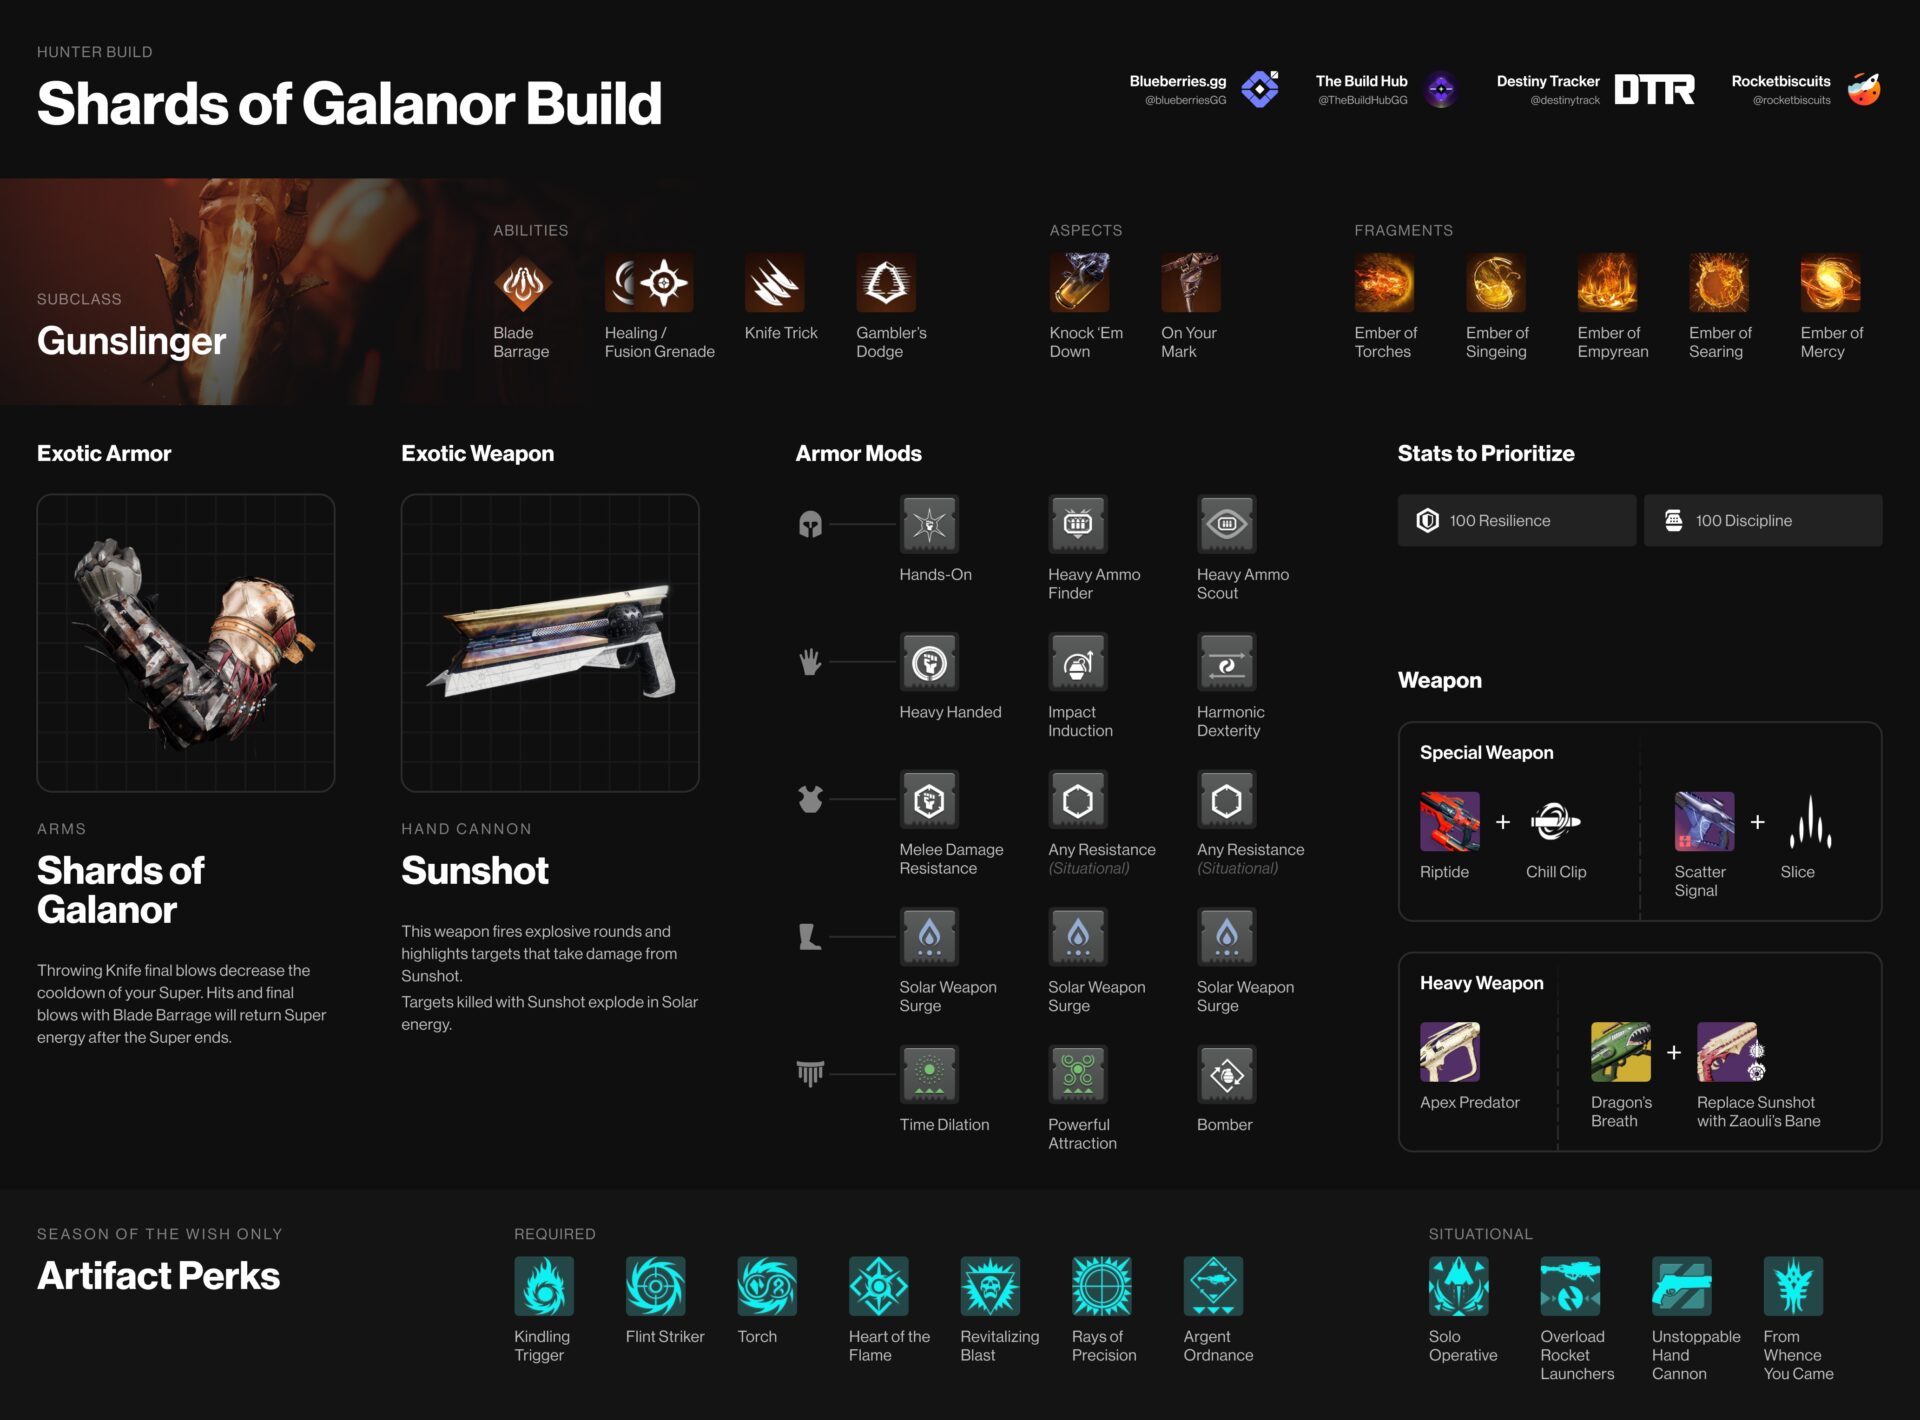
Shards of Galanor and Dragon’s Breath. A Solar Primary and close-range Special weapon are recommended.
 Name: Assassin's Cowl | Class: HunterSlot: Helm | Source: Exotic EngramsRequires: Shadowkeep | Exotic Perk: Powered melee final blows grant invisibility and restore a portion of health and shields. Finishers and final blows against more powerful targets increase the duration of the invisibility and the amount of health and shields. |
 | CALUS Mini-Tool | Submachine Gun | Presage | ||
 | Heritage | Shotgun | Deep Stone Crypt Raid |
- Aspects: Knock ‘em Dow and On Your Mark (to equip 5 Fragments).
- Fragments: Ember of Torches, Ember of Mercy, Ember of Torches, Ember of Empyrean, Ember of Singeing, and Ember of Searing.
- Abilities: Blade Barrage, Gambler’s Dodge, Knife Trick, and Healing Grenade.
- Stats Priority: Resilience 🡒 Discipline 🡒 Mobility.
- Mods:
- Helmet: Hands-On, Harmonic Siphon, Powerful Friends.
- Arms: Heavy Handed, Focusing Strike, Impact Induction.
- Chest: Concussive Dampener and Resistance Mods based on your enemies.
- Legs: Weapon Surge Mods matching your weapons.
- Class Item: Time Dilation, Reaper, Powerful Attraction.
Gameplay Loop
The gameplay loop is quite simple with Assassin’s Cowl. The goal is to chain Knife Trick kills together to ensure maximum uptime on your invisibility and to have as much healing as possible. If you miss, Gambler’s Dodge is there to pick up the slack and provide you with another melee. Gambler’s Dodge and your melee will also recharge faster by scorching enemies with your Knife Trick.
You also have options like Healing Grenade if you find yourself out of a dodge and a melee ability. This can help fill in the gaps where you may miss your abilities on a target and need some survivability.
You always want to land the final blow with your knives, so if you can’t outright one-shot an enemy, prime them first with your weapon and finish them with the knife. Constantly getting kills with your knives will spam Orbs of Power for yourself and for your team.
Stealthed Gyrfalcon
Excels in: Endgame (Dungeons, Raids, Legend content)
Goal of the Build: Chain Invisibility to retain Volatile Rounds and synergize as much as possible with your Void 3.0 kit and weapons.
Mandatory Gear: Gyrfalcon’s Hauberk and a Void weapon. Weapons with Repulsor Brace are recommended (Collective Obligation is also excellent here).
 Name: Gyrfalcon's Hauberk | Class: HunterSlot: Chest | Source: Lost SectorsRequires: The Witch Queen | Exotic Perk: Your weapons gain a bonus to damage briefly after you emerge from being invisible. When you are invisible and defeat a combatant using a finisher, you and your nearby allies gain a reserve overshield and improved class ability regen. These reserve overshields can be deployed by using a class ability. |
 | Collective Obligation | Pulse Rifle | Vow of the Disciple Raid | ||
 | Unforgiven | Submachine Gun | Duality Dungeon |
- Aspects: Stylish Executioner and Vanishing Step.
- Fragments: Echo of Starvation, Echo of Persistence, Echo of Remnants, and Echo of Obscurity.
- Abilities: Moebius Quiver and Vortex Grenades. Either Dodge works.
- Stats Priority: Max Resilience 🡒 Mobility 🡒 Discipline.
- Mods:
- Helmet: Void Siphon, Heavy Ammo Finder, and Heavy Ammo Scout.
- Arms: Firepower, Harmonic Reloader, Bolstering Detonation.
- Chest: Concussive Dampener and Resistance Mods based on your enemies.
- Legs: Weapon Surge Mod matching your equipped weapons.
- Class Item: Reaper, Bomber, Time Dilation.
Gameplay Loop
Gyrfalcon’s Hauberk does practically everything. Essentially, the goal is to go Invisible through your dodge, exit Invisibility, gain Volatile Rounds, kill a Volatile enemy, and thus, re-enter Invisibility through Stylish Executioner and continue the cycle of exiting Invis, getting a kill on a Volatile enemy and repeating.
Adding in Devour grants you both Healing and Invisibility on kill. Then, once you add a Repulsor Brace weapon on top of this (which provides an overshield when defeating a Void-debuffed target), you become practically unkillable, weaving in and out of Invisibility with a tanky overshield and full health on kill.
Top 3 Warlock Builds
Radiant Sunbracer
Excels In: Endgame (Dungeons, Raids, Legend content)
Goal of the Build: Rain terror from above by throwing an infinite amount of Solar Grenades. It provides excellent ad clear and can give you a seemingly infinite damage buff via surge mods.
Mandatory Gear: Sunbracers. A Solar weapon with Incandescent is recommended.
 Name: Sunbracers | Class: WarlockSlot: Arms | Source: Exotic EngramsRequires: Free-to-Play | Exotic Perk: Increases the duration of Solar Grenades. Solar melee kills grant unlimited Solar Grenade energy for a brief time. |
 | CALUS Mini-Tool | Submachine Gun | Presage |
- Aspects: Touch of Flame and Heat Rises.
- Fragments: Ember of Ashes, Ember of Searing, Ember of Empyrean, and Ember of Resolve
- Abilities & Stats: Well of Radiance, Solar Grenade, Phoenix Dive, and Incinerator Snap.
- Stats: Max Resilience 🡒 Max Recovery.
- Mods:
- Helmet: x2 Ashes to Assets, Harmonic Siphon.
- Arms: Firepower, Bolstering Detonation, Momentum Transfer
- Chest: Relevant Resistance and Reserve Mods.
- Legs: x2 Solar Weapon Surge
- Class Item: -
Gameplay Loop
Get a kill with your charged melee ability to start the gameplay loop. If you’re struggling with this step, try binding your charged melee to a unique button so you can send it off at a more specific time.
Getting that powered melee kill will proc Sunbracers, granting you five seconds of ‘infinite’ Solar Grenades. Realistically, you can only fire a maximum of five during this time due to the time it takes to execute the animation. Swallow your first grenade to get Heat Rises, then take to the skies and watch everything below burn via your other Solar Grenades. Any kills in the air (including those from the grenades) will give you 30% of your melee energy, allowing you to repeat this loop infinitely.
If you ever fail to kill something with your melee, just get kills in the air with your weapons—you’ll get it back soon after due to Heat Rises. As a nice bonus, casting Phoenix Dive while Heat Rises is active grants Restoration, which you can extend with Solar kills via Ember of Empyrean.
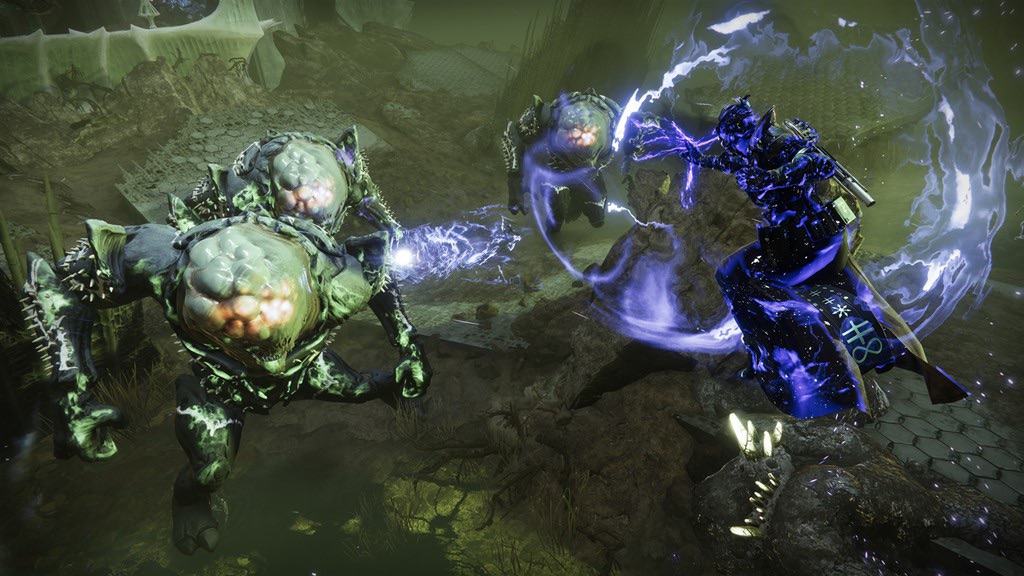
Void Leech
Excels In: Grandmaster Content
Goal of the Build: Be able to debuff everything in sight while maintaining Devour for survivability.
Mandatory Gear: Secant Filaments. Collective Obligation is recommended.
 Name: Secant Filaments | Class: WarlockSlot: Legs | Source: Lost SectorsRequires: The Witch Queen | Exotic Perk: Casting an empowering rift will grant you Devour. Damage dealt by you and your allies from within your empowering rift will disrupt combatants. |
 | Collective Obligation | Pulse Rifle | Vow of the Disciple Raid |
- Aspects: Feed the Void and Child of the Old Gods.
- Fragments: Echo of Undermining, Echo of Instability, Echo of Domineering, and either Echo of Expulsion or Echo of Harvest.
- Abilities: Suppressor Grenade and Empowering Rift.
- Stats: Resilience 🡒 Recovery 🡒 Discipline.
- Mods:
- Helmet: Harmonic Siphon.
- Arms: Grenade Kickstart.
- Chest: Charged Up.
- Legs: Stacks on Stacks.
- Class Item: Bomber.
Gameplay Loop
Because there are so many moving parts to this build, there’s no one “loop” you’ll need to execute. You have multiple ways to debuff enemies: Weaken and Suppression with a grenade, Volatile from melee and Volatile Rounds, and more Weaken from Child of the Old Gods. Plus, you’ll get Devour by placing your rift or getting an ability kill.
After debuffing an enemy with any of these sources, shoot them once with Collective Obligation. Holding reload will cause the weapon to fire bullets that debuff enemies with any effect you shot earlier. After the chaos subsides, you should have most abilities recharged and ready for a second round.
Going further...
Blinding Vesper
Excels In: Endgame (Dungeons, Raids, Legend content)
Goal of the Build: Blind and Jolt hordes of enemies through both your rift and weapons, allowing you and your allies to easily control the battlefield.
Mandatory Gear: Vesper of Radius. An Arc Special weapon is recommended (such as Delicate Tomb for casual content or Coldheart for higher-difficulty activities).
 Name: Vesper of Radius | Class: WarlockSlot: Chest | Source: Exotic EngramsRequires: Free-to-Play | Exotic Perk: Rifts periodically release Arc shockwaves. Final blows with these shockwaves create an Arc explosion. While an Arc subclass is equipped, the shockwaves and subsequent explosions blind nearby targets. Rift energy recharges faster when you are surrounded by targets. |
 | Coldheart | Trace Rifle | Exotic Engram | ||
 | Delicate Tomb | Fusion Rifle | Exotic Kiosk |
- Aspects: Electrostatic Mind and Arc Soul.
- Fragments: Spark of Brilliance, Spark of Beacons, Spark of Resistance, and Spark of Volts.
- Abilities: Chaos Reach, Ball Lightning, Storm Grenade, and Healing Rift.
- Stats: Max Resilience 🡒 Recovery 🡒 Discipline.
- Mods:
- Helmet: Harmonic Siphon, Special Ammo Finder.
- Arms: Bolstering Detonation, Focusing Strike.
- Chest: Charged Up.
- Legs: Elemental Charge, Insulation, Recuperation.
- Class Item: Distribution, Special Finisher, Powerful Attraction.
Gameplay Loop
To begin the loop of this build, simply place a rift near a group of enemies. This should both blind the enemies (thanks to Vesper of Radius) and grant some rift energy back (from Distribution).
Defeating any of these blinded targets will generate an Ionic Trace, which will then make you amplified. Becoming amplified allows you to then blind even more combatants with your Arc special weapon of choice. Using your other abilities in addition to your weapon will generate more Ionic Traces and ability energy, allowing you to begin the loop again.
If you ever run out of special ammo, you should be making enough Orbs of Power to do special finishers whenever you need them. Also remember that you have additional avenues to synergies as well, like with Arc Soul.
Top 3 Titan Builds
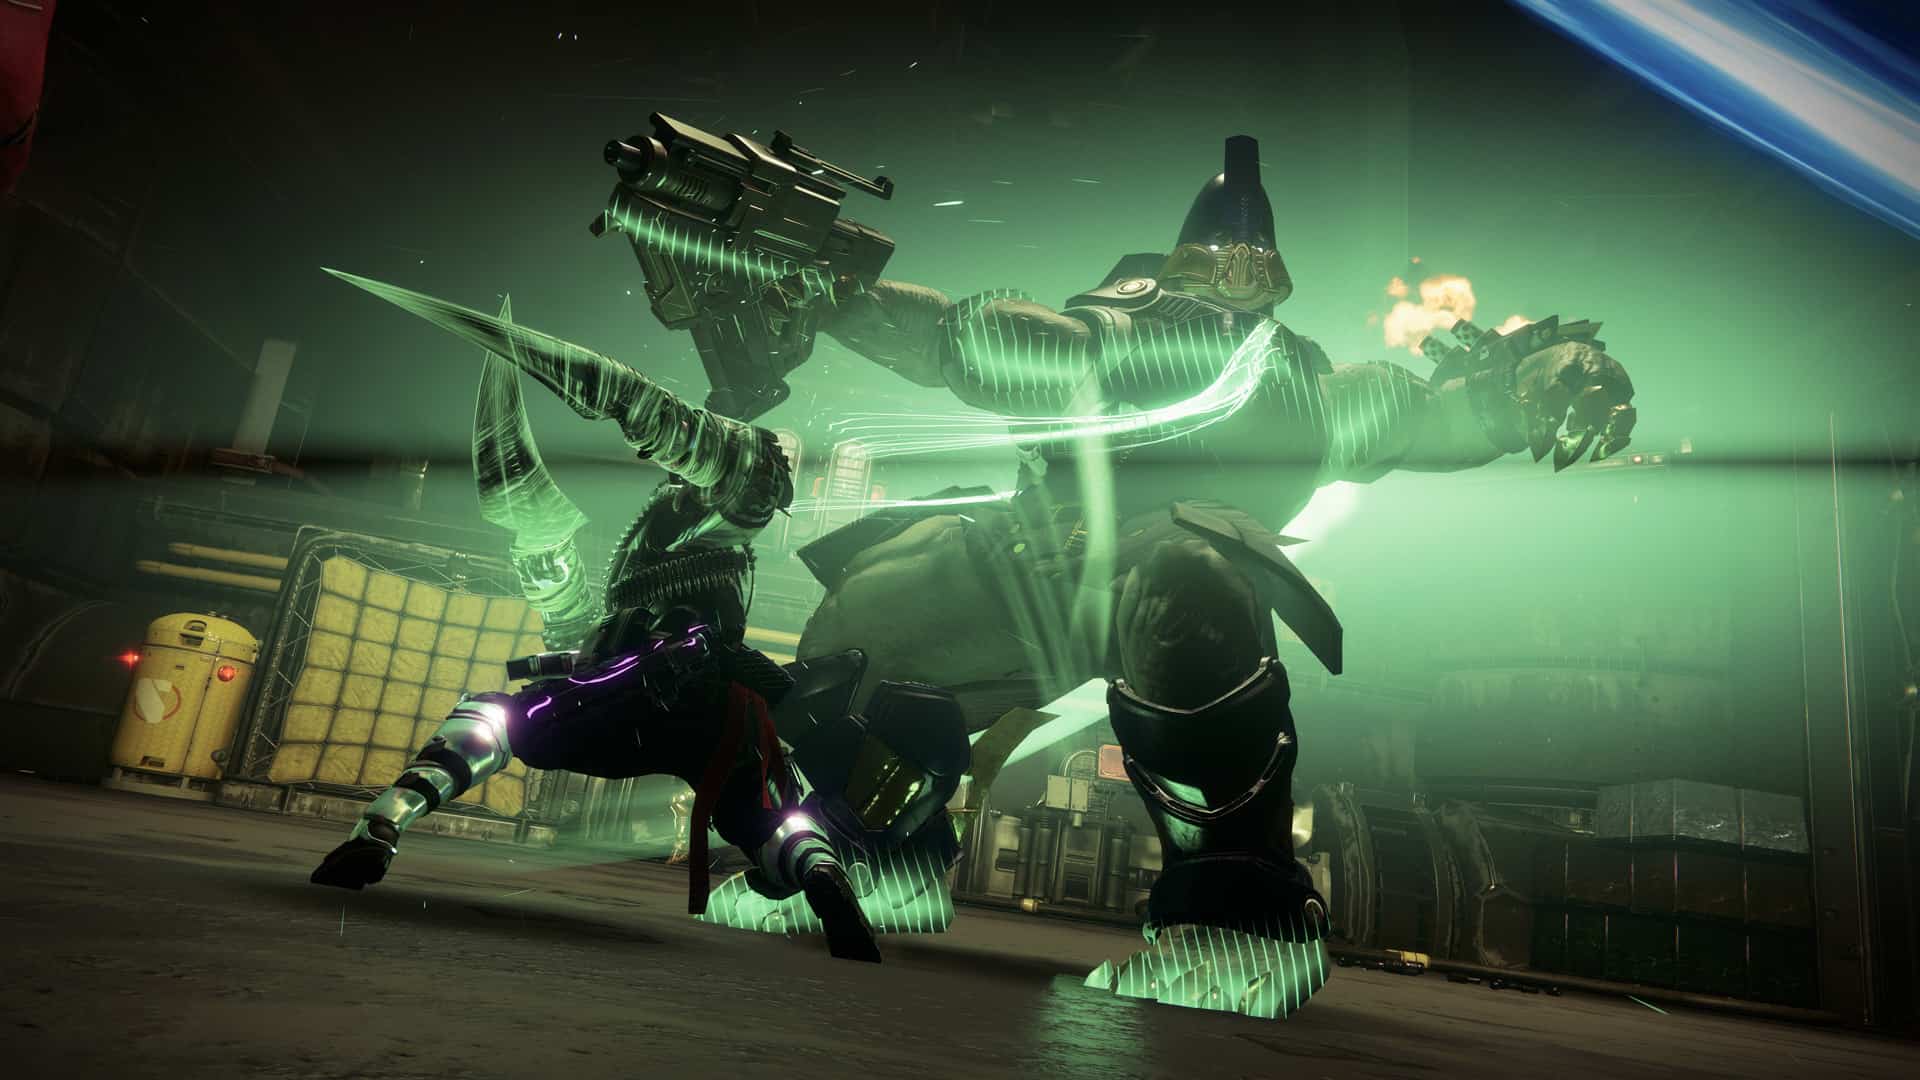
Berserker of War
Excels In: Endgame (Dungeons, Raids, Legend content)
Goal of the Build: Utilise the Banner of War Aspect to continuously grant healing bursts to yourself and allies while also dealing outrageous melee damage.
Mandatory Gear: Synthoceps or Wormgod Caress Exotics. A One-Two Punch Shotgun is recommended. The Navigator or Tractor Cannon can also help.
 Name: Synthoceps | Class: TitanSlot: Arms | Source: Exotic EngramsRequires: Free-to-Play | Exotic Perk: Increased melee lunge range. Improved melee and Super damage when you're surrounded. |
 Name: Wormgod Caress | Class: TitanSlot: Arms | Source: Exotic EngramsRequires: Free-to-Play | Exotic Perk: Melee kills increase melee damage for a period of time. Additional kills extend duration and increase effects. |
 | CALUS Mini-Tool | Submachine Gun | Presage |
- Aspects: Into the Fray and Banner of War.
- Fragments: Thread of Fury, Thread of Warding, Thread of Generation, and Thread of Transmutation.
- Abilities: Grapple, Frenzied Blade, and either Barricade works.
- Stats: Resilience 🡒 Strength 🡒 Discipline🡒 Recovery.
- Mods:
- Helmet: Hands-On and a Siphon Mod matching your weapon.
- Arms: Heavy Handed, Momentum Transfer, and Firepower.
- Chest: Relevant Resistance and Reserve Mods.
- Legs: Invigoration, Absolution, and Innervation.
- Class Item: Distribution, Bomber, and Outreach.
Gameplay Loop
The gameplay loop for this build is quite simple but has slight alterations based on the exotic being used. In general, you’ll want to leverage your Grapple Melees to engage in fights, killing a minor enemy, and then use your Banner of War buffed Frenzied Blades melee attacks to deal outrageous damage.
If using Wormgod’s Caress, it's important to remember that both melee kills (charged or uncharged) and finishers fill up the meter. This can be used to build up the charge before a larger fight, where enemies might be sparse, and Synthoceps might not activate.
A tip to follow is ensuring that you actually hit the enemy with your Grapple attack to proc the melee generation from Momentum Transfer. Killing an enemy with the Grapple Melee will create two Orbs of Power thanks to Heavy Handed and Firepower, and Orbs you grab will grant plenty of melee energy, allowing you to slay out with your Frenzied Blades, practically one-shotting any enemy that isn’t a multi-million health boss.
Finally, when entering a damage phase, remember that your melee charges are refunded after your super ends, so a proper damage loop would be: melee → super → melee. This will get the most use out of both melee-enhancing buffs.
Undying Flame
Excels In: Solo, Endgame, Grandmasters.
Goal of the Build: This build aims to create an unkillable Titan by harnessing the power of Solar 3.0 and the Loreley Splendor exotic helm.
Mandatory gear: Loreley Splendor Helm. Solar weapons are recommended.
 Name: Loreley Splendor Helm | Class: TitanSlot: Helm | Source: Lost SectorsRequires: The Witch Queen | Exotic Perk: When you have Sun Warrior, your Sunspots heal you. When you are critically wounded, create a Sunspot at your location. |
- Aspects: Sol Invictus and Roaring Flames (for endgame content) or Consecration (fun and solid too).
- Fragments: Ember of Solace, Ember of Singeing, Ember of Empyrean, and Ember of Torches.
- Abilities: Healing Grenade for extra survivability or Solar Grenade for add clear. Throwing Hammer, Rally Barricade.
- Stats: Max Resilience.
- Mods:
-
- Helmet: Siphon matching your subclass.
- Arms: Heavy Handed.
- Chest: Resistance Mods based on your enemies.
- Legs: -
- Class Item: -
-
Gameplay Loop
This is one of the easiest and most straightforward builds for Titan. It requires little to no setup and functions extremely well in all levels of content.
This build revolves around the Loreley Splendor exotic helmet. Its exotic perk, “Cauterizing Flame,” creates a sunspot upon barricade cast or when you are critically wounded. This allows you to get the Restoration buff which regenerates your health and shields over time. This cannot be stopped by damage and only runs out when the buff itself runs out. Ember of Solace increases this duration.
Ember of the Empyrean allows you to maintain this restoration buff by chaining solar weapon kills to refresh the duration. Opting for Synthoceps instead of Loreley Splendor removes your barricade from the loop, but the whole idea of throwing your hammer over and over at enemies stays the same.
Cuirass of the Falling Star
Excels In: Endgame Content (Dungeons, Raids, Legend Content)
Goal of the Build: Deal massive damage to large targets using one of the strongest one-off Supers in the game and its accompanying exotic.
Mandatory Gear: Cuirass of the Falling Star. A weapon with Demolitionist is recommended.
 Name: Cuirass of the Falling Star | Class: TitanSlot: Chest | Source: Lost SectorsRequires: Beyond Light | Exotic Perk: Greatly increases your Thundercrash impact damage. Gain an overshield that lasts longer the farther you travel before striking a target. |
- Aspects: Knockout and Touch of Thunder.
- Fragments: Spark of Resistance, Spark of Amplitude, Spark of Magnitude, and Spark of Shock.
- Abilities: Pulse Grenade, Seismic Charge, Thruster, Thundercrash.
- Stats: Resilience 🡒 Discipline → Intellect.
- Mods:
- Helmet: Ashes to Assets, Matching Siphon.
- Arms: Firepower, Grenade Kickstart, Bolstering Detonation.
- Chest: Resistance Mods based on your enemies.
- Legs: Innervation, Insulation, Elemental Charge.
- Class Item: Powerful Attraction (as many as possible).
Gameplay Loop
Although the days of Thundercrash being the best damage super for Titans have long passed, there is no denying the fun and power behind this Super. Cuirass of the Falling Star buffs its damage by 100% and gives an overshield after it ends.
Gameplay loop is rather simple: use your grenade as much as possible to spawn orbs and gain Super energy, and then use Thruster to pick the orbs up from afar. With Touch of Thunder, these grenades will also spawn Ionic Traces, which will give you Armor Charges from Elemental Charge. Use these Armor Charges in tandem with Grenade Kickstart to make the loop quicker!
Once your Super is charged, find whatever high-tier enemy needs removal, and fire it off. Use the overshield to reposition to safety, and start from the top.
Before you go…
If you want to go deeper down the rabbit hole that is build crafting in Destiny 2, you should also check our Subclass tier lists for Hunter, Warlock, and Titan.
See latest Updates
- January 12, 2024: Updates based on the Season 23 meta.
- September 13, 2023: Updates based on the Season 22 meta and the addition of the “Berserker of War” build.
- July 3, 2023: Updates based on the Season 19 meta.
- January 16, 2023: Updates based on the Season 18 meta.
- October 6, 2022: The guide is published for the first time.
Stay tuned, and don’t forget to bookmark this page for next season!



















Harnesser of flame for warlock links to a titan build?