Starcrossed is a new exotic weapon quest released with Destiny 2’s Season of the Wish. The quest became available to all Season Pass owners on December 19th, 2023.
The quest will require you to complete several steps of varying difficulty, ultimately rewarding you with the coveted exotic bow Wish-Keeper, a craftable strand exotic bow. From what we’ve seen so far, this bow will be an excellent PvE choice for Guardians running Strand builds.
| Art | Weapon | Type | Archetype | Rarity | Ammo? | Element? | Requirements | In loot pool? | Ammo | Element | Tier | Excels | Source | Craftable? | Requires | Released | Slot | Can be Crafted? | Best of? | Top Perk? |
|---|---|---|---|---|---|---|---|---|---|---|---|---|---|---|---|---|---|---|---|---|
 | Wish-Keeper | Combat Bow | Exotic | Exotic | Primary | Strand | Season 23 | Yes | Average ❘ B | PvE + PvP | Exotic Quest | Season 23 | Season 23 | Kinetic | Craftable |
Starcrossed Mission Requirements
To begin the quest, you must progress through the seasonal storyline quest “Wishing All the Best” to step 29. Once you complete the weekly story mission, you are directed to visit Crow in his alcove in the H.E.L.M. Crow will explain that there is yet another one of Riven’s eggs that you’ll need to track down. In the Black Garden of all places.
What connection could Riven have to the Black Garden? Get ready for another tear-jerker of a story, but more importantly, get excited because you’ll soon get your hands on Wish-Keeper.
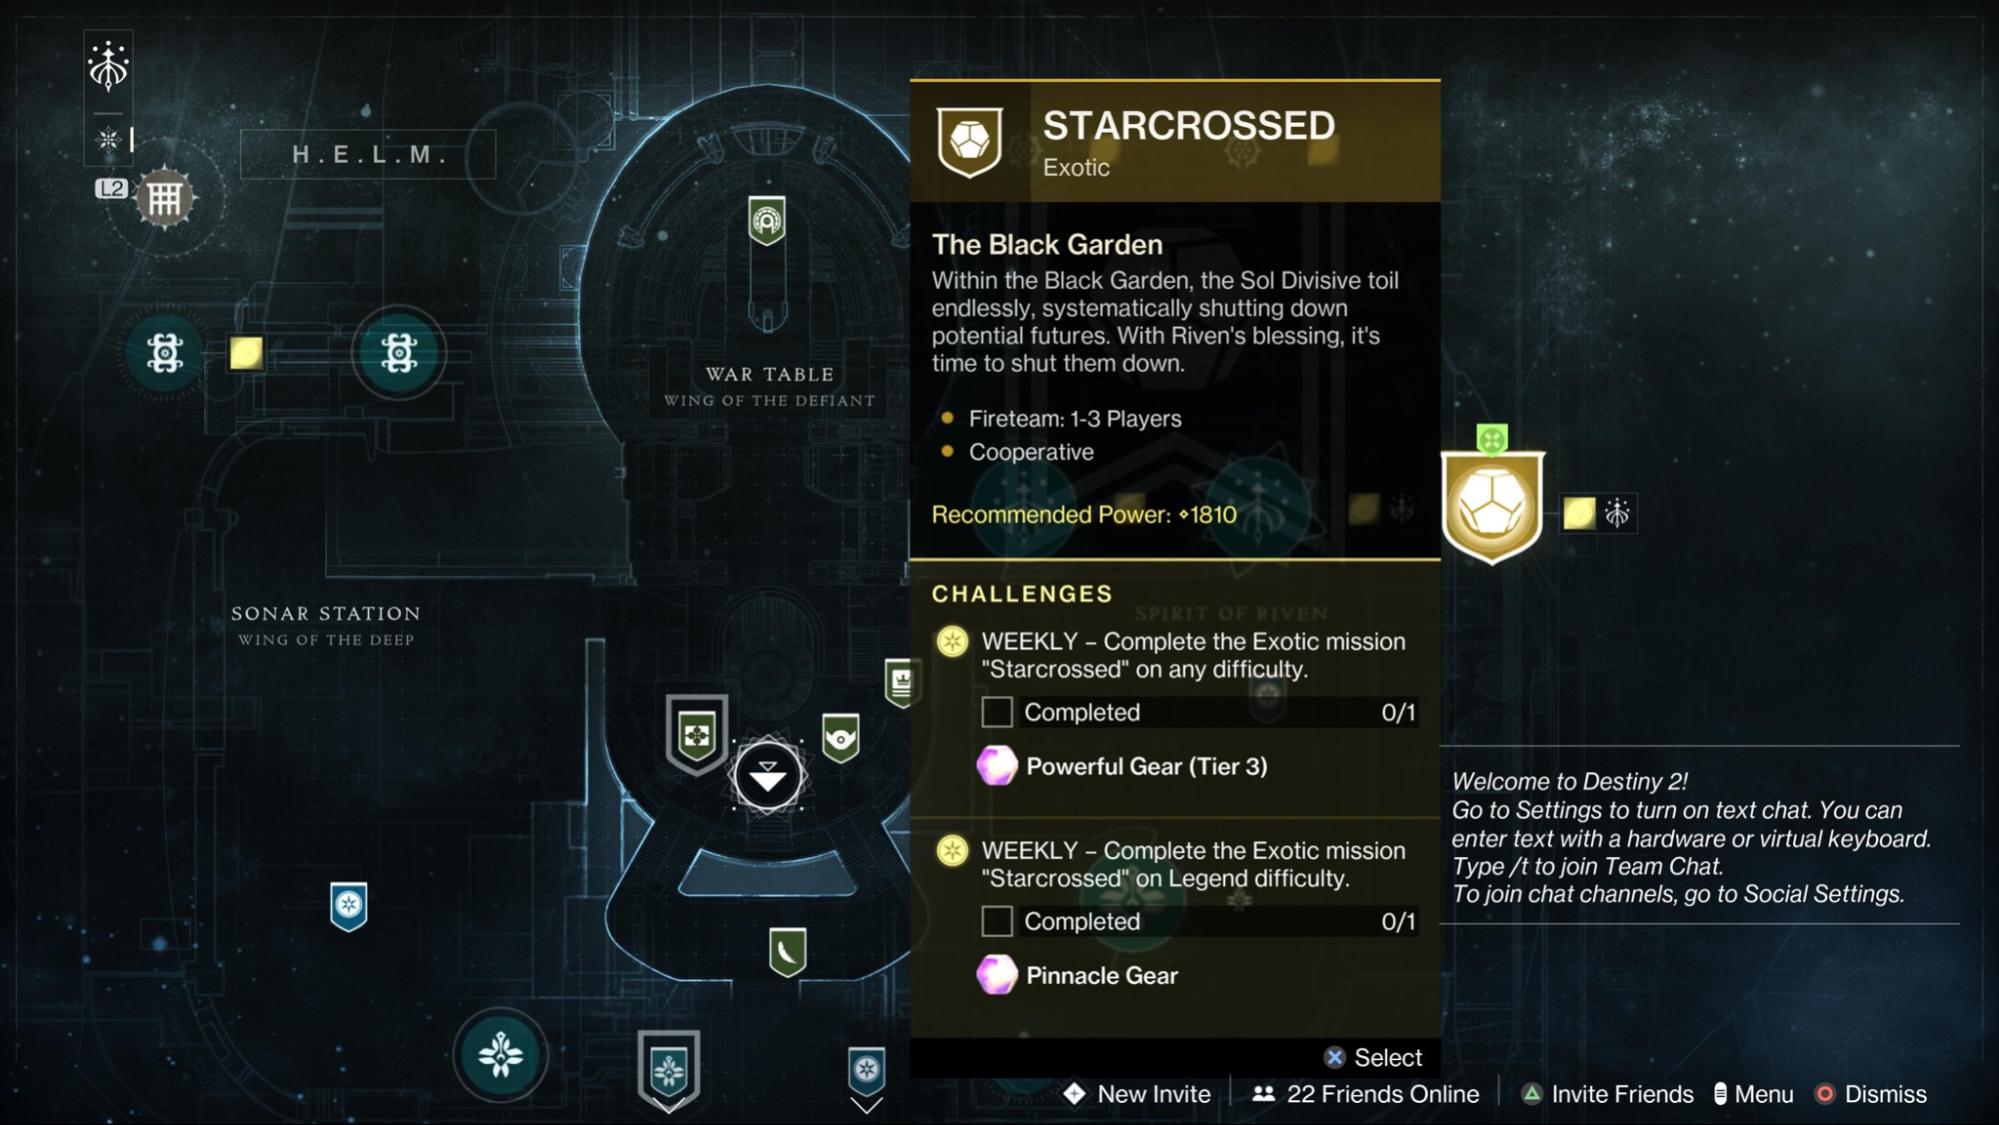
Starcrossed Mission, Destiny 2
How to get Wish-Keeper in Destiny 2
Step 1: Traverse the Black Garden
At the beginning of the quest, you are dropped into a familiar-looking jumping puzzle area. To proceed, shoot the glowing plants to create platforms for you and your fireteam to traverse the cavernous room. You’ll want to head diagonally to the other side of the room from where you transmat in. Look for light trickling in from the outside and Vex standing in your way.
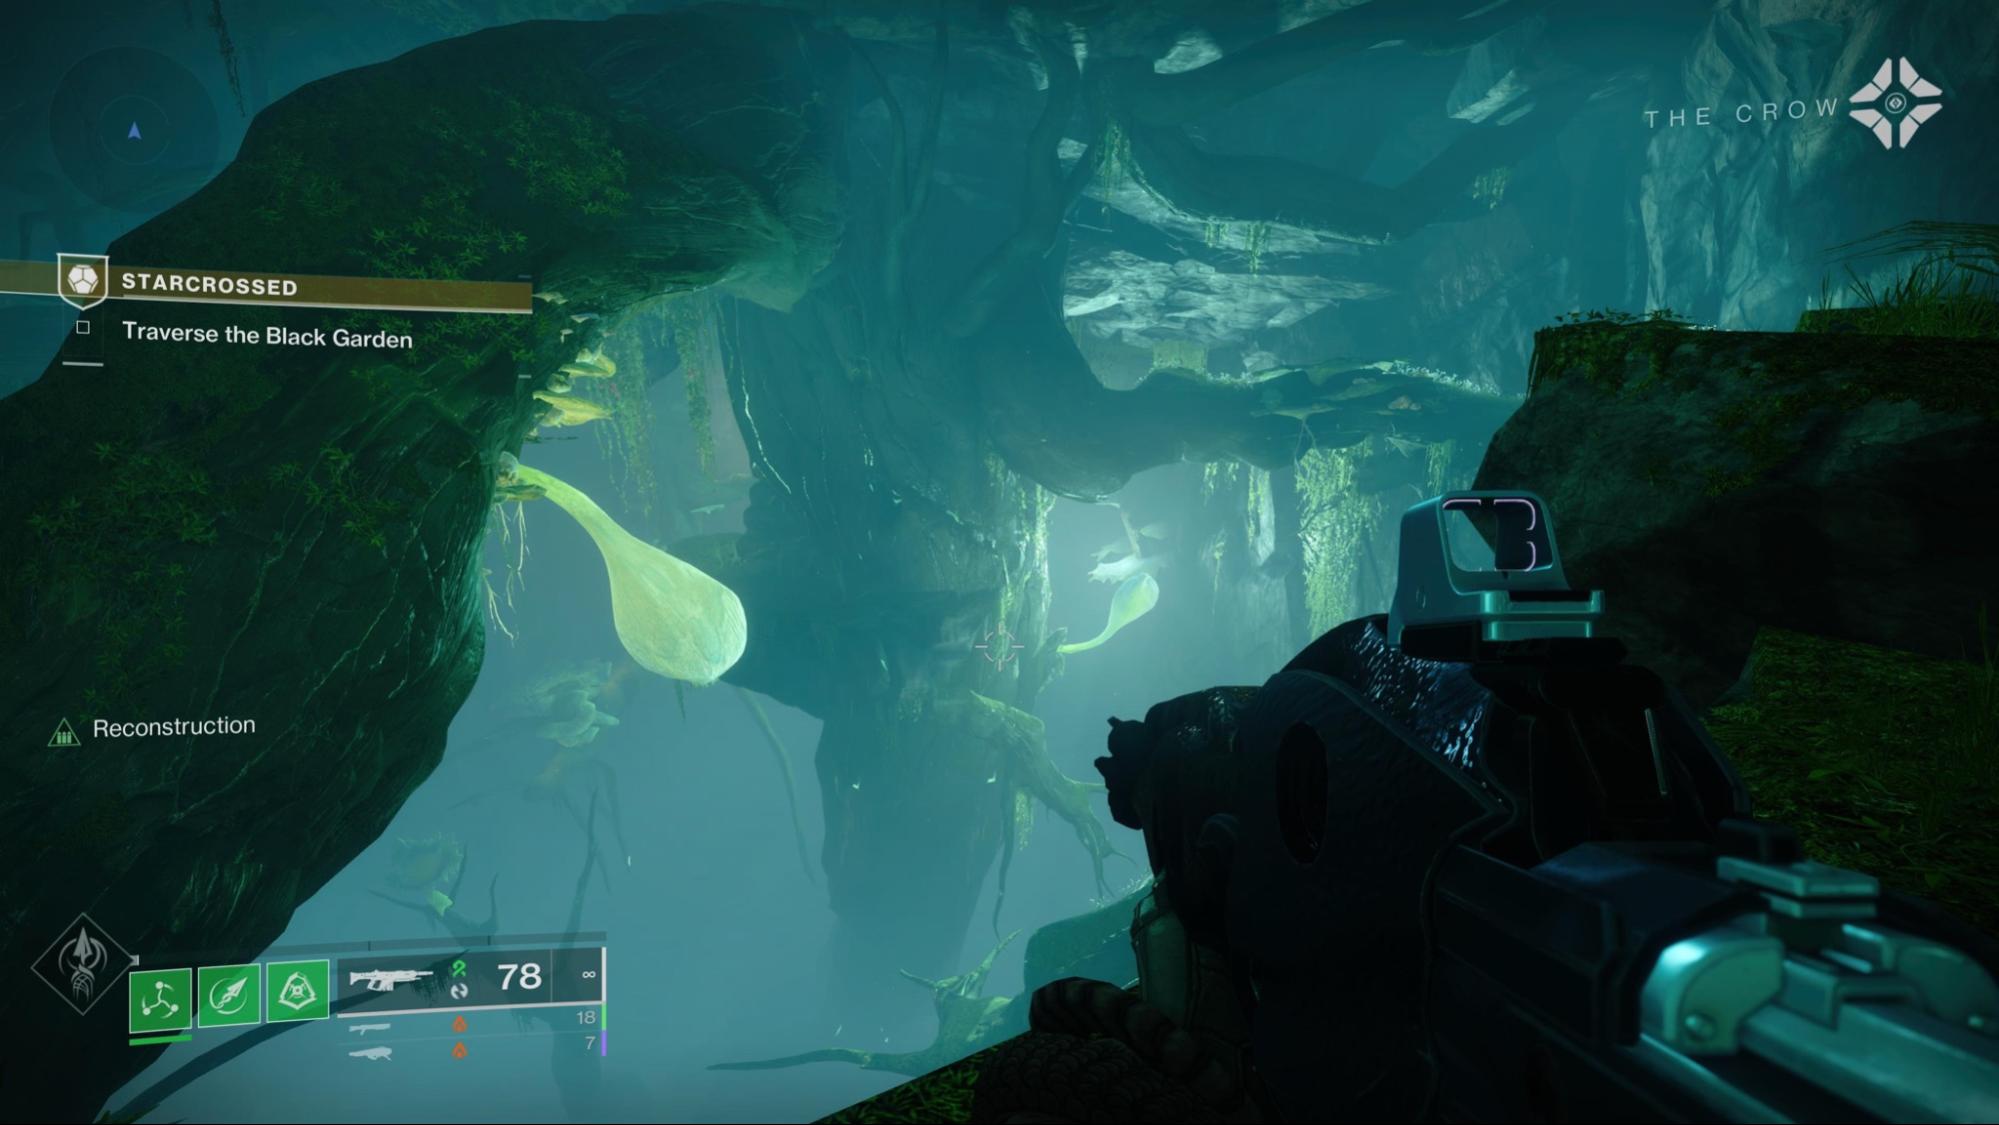
Destiny 2 Starcrossed Mission, Step 1
Step 2: Approach the Structure
Once you exit the cavernous room, you will see a towering Vex structure in the distance. Head in its direction, and you will encounter a small bridge with some sort of glowing blue well adjacent to the left. Pay close attention to the symbols appearing ahead. They will resemble symbols you may remember from The Shattered Throne Dungeon or even the Wishing Wall in the Dreaming City. This introduces the mechanic you will need to replicate throughout this exotic mission.
The symbol hovering over the doorway beyond the bridge is a lock, and the symbol nearest to you represents the lock that defeating the nearby blue-aura Taken Cabal will unlock. Step into the well to receive a buff called Sire’s Obligation. This buff will enable you to defeat the Taken Cabal on the opposite end of the bridge, unlocking the way to the next room.
Step 3: Open the Way
Once you enter the next room, Riven will announce that she will grant you some of her paracausal energy along your journey in the Black Garden. This explains what these magical blue wells are. In this room, there are a few different blue wells that you can use to pick up the Sire’s Obligation buff. One will be just left of the entrance of the room, and the other will be on top of the central elevated walkway.
The main objective here is to snag the buff, head to the middle ground-level area, and scope out the order of the locks you will need to disengage. There will be 3 locks that must be disengaged in order from top symbol to bottom symbol by taking out the corresponding blue-aura Taken Cabal located on the left, right, and middle of the room. Once you defeat the three Cabal in the correct order according to the lock, the way forward will open.
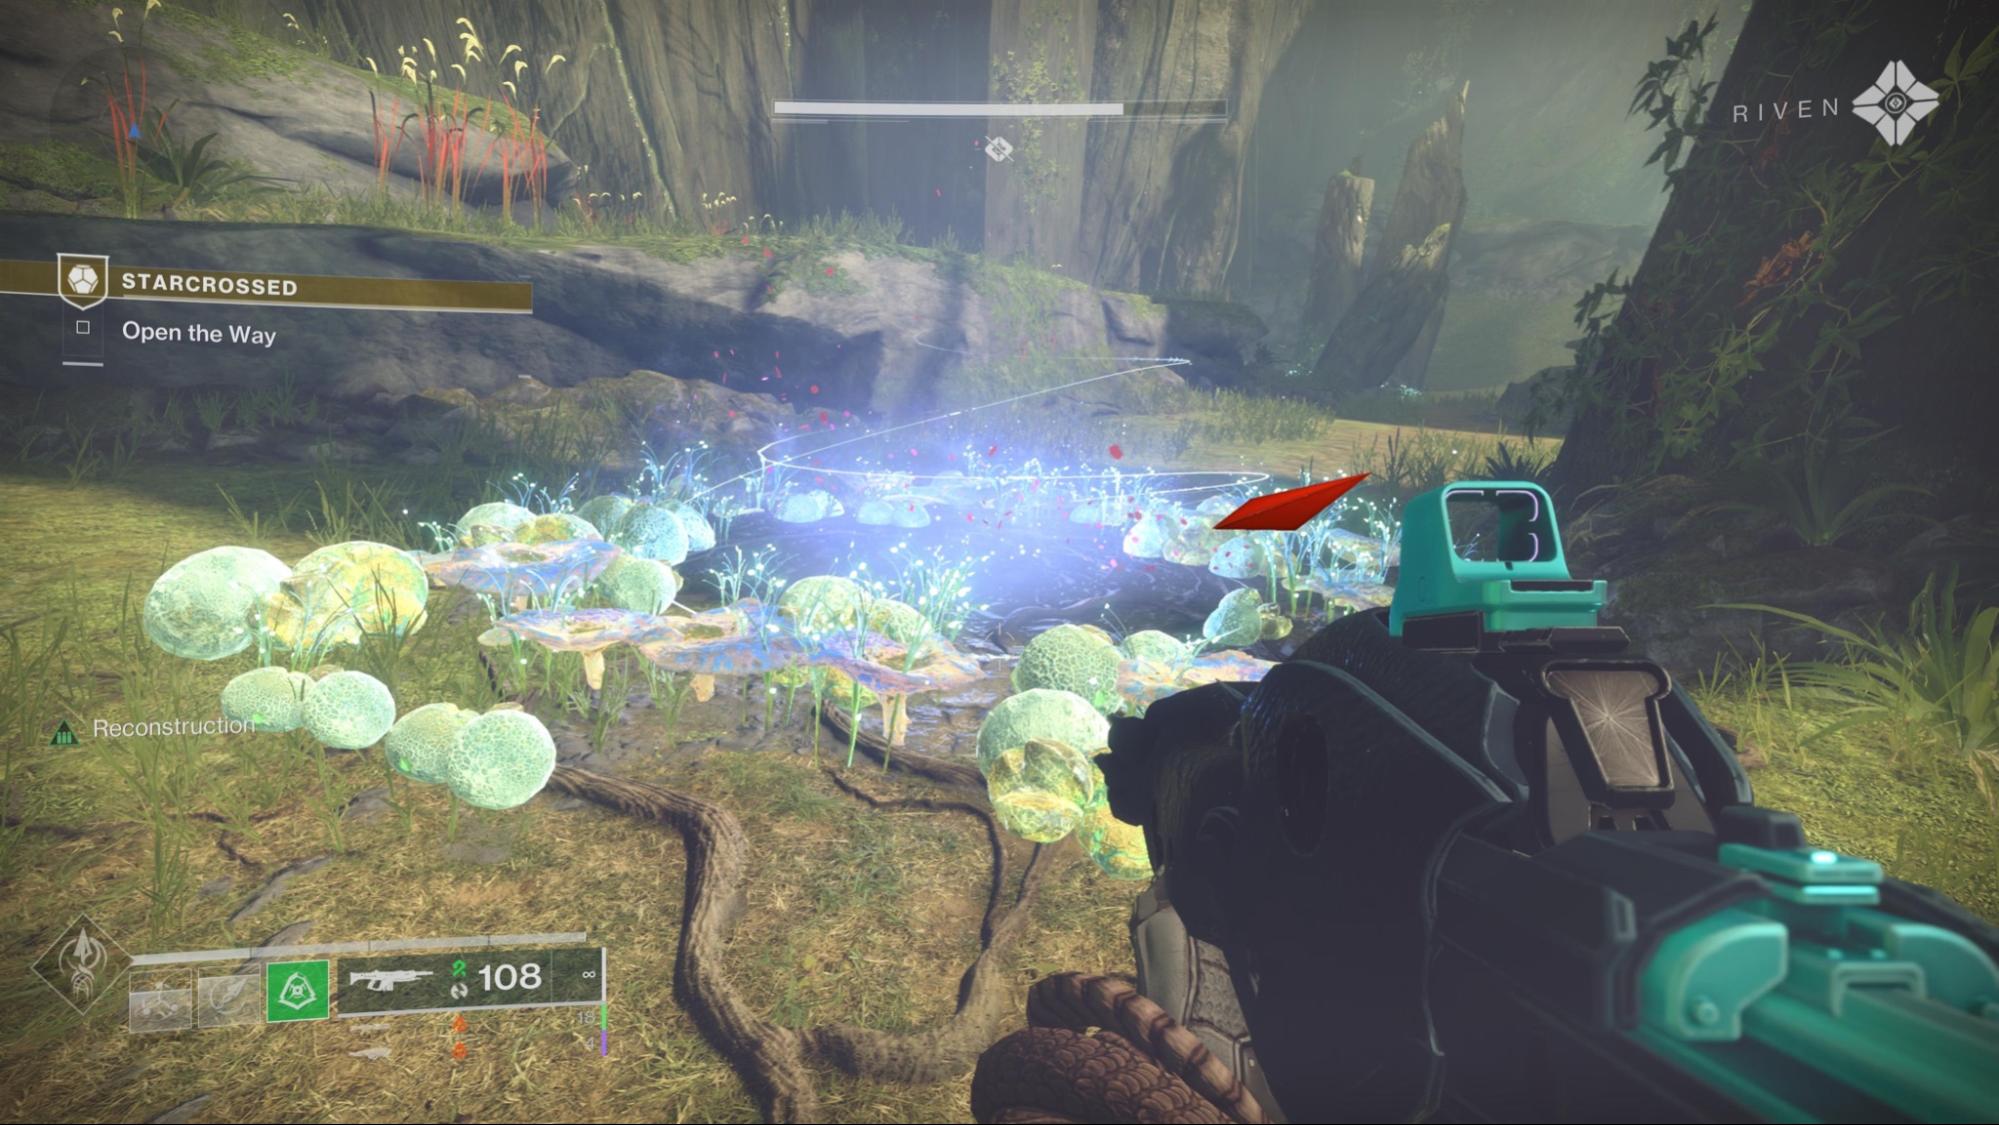
D2 Starcrossed Mission, Step 3
Step 4: Traverse the Black Garden (again!)
As you approach the narrow path forward, you will notice another well. This particular well is colored red, and as you pass through it, you will notice yet another buff applied called Dam’s Gift. Riven will allude to this being the power of another entity and is ultimately the second half of this exotic quest’s mechanics.
Proceed forward, navigate the simple platforming path, and enter the more open area beyond.
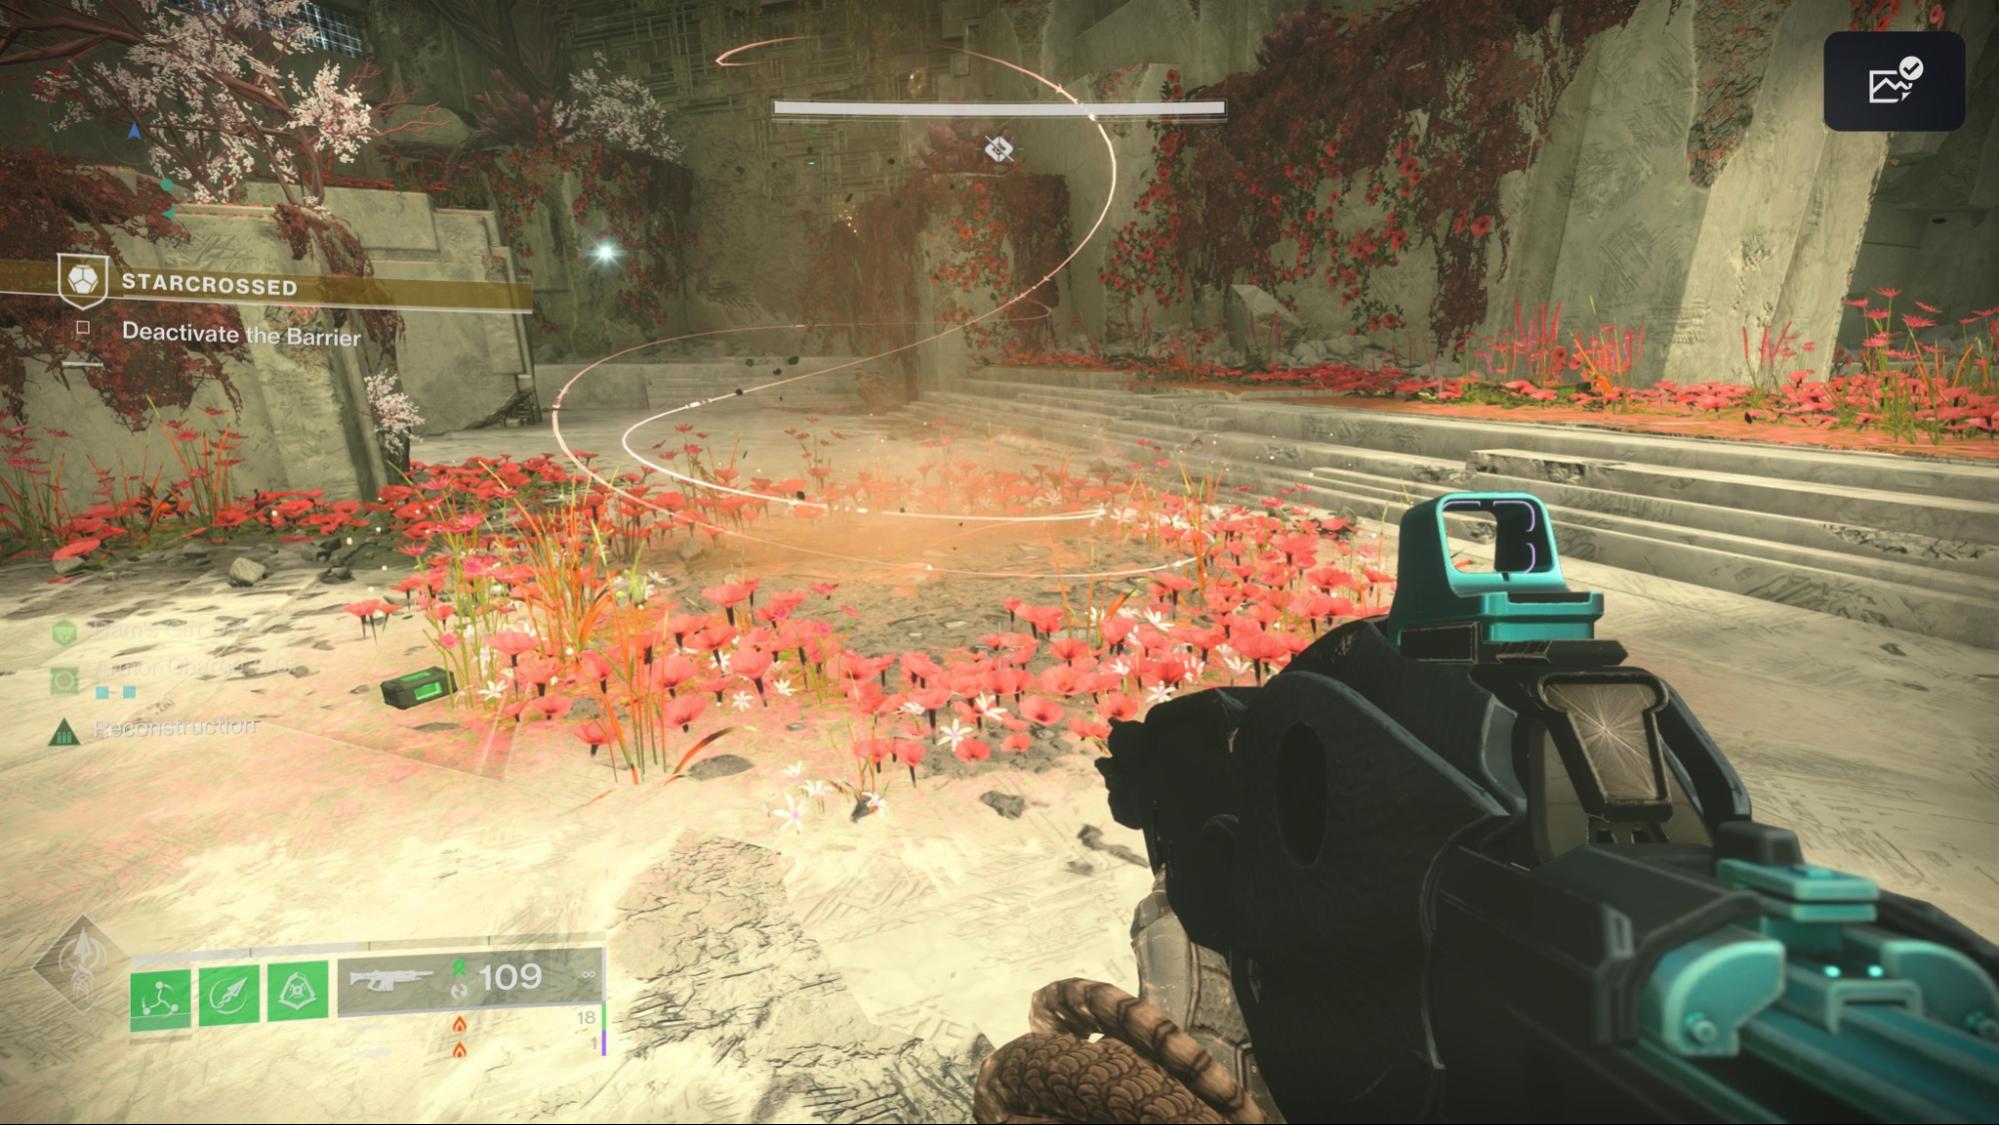
How to get Wish-Keeper, Step 4
Step 5: Access the Transit Mechanism
As soon as you complete the short traversal section, you will be in a room with three diverting paths forward and a red well in the middle. Two of these paths are more obvious, straight and to the right, but there is a third path just to the left of the path straight ahead. Down each of these paths, you will find Gatekeeper Wyverns that you are required to dispatch with the Dam’s Gift buff active, and behind each of them will be terminals similar to those seen in Garden of Salvation for you to use with Dam’s Gift active.
Feel free to complete this step in any order and return to the central area with the red well where we first applied the buff.
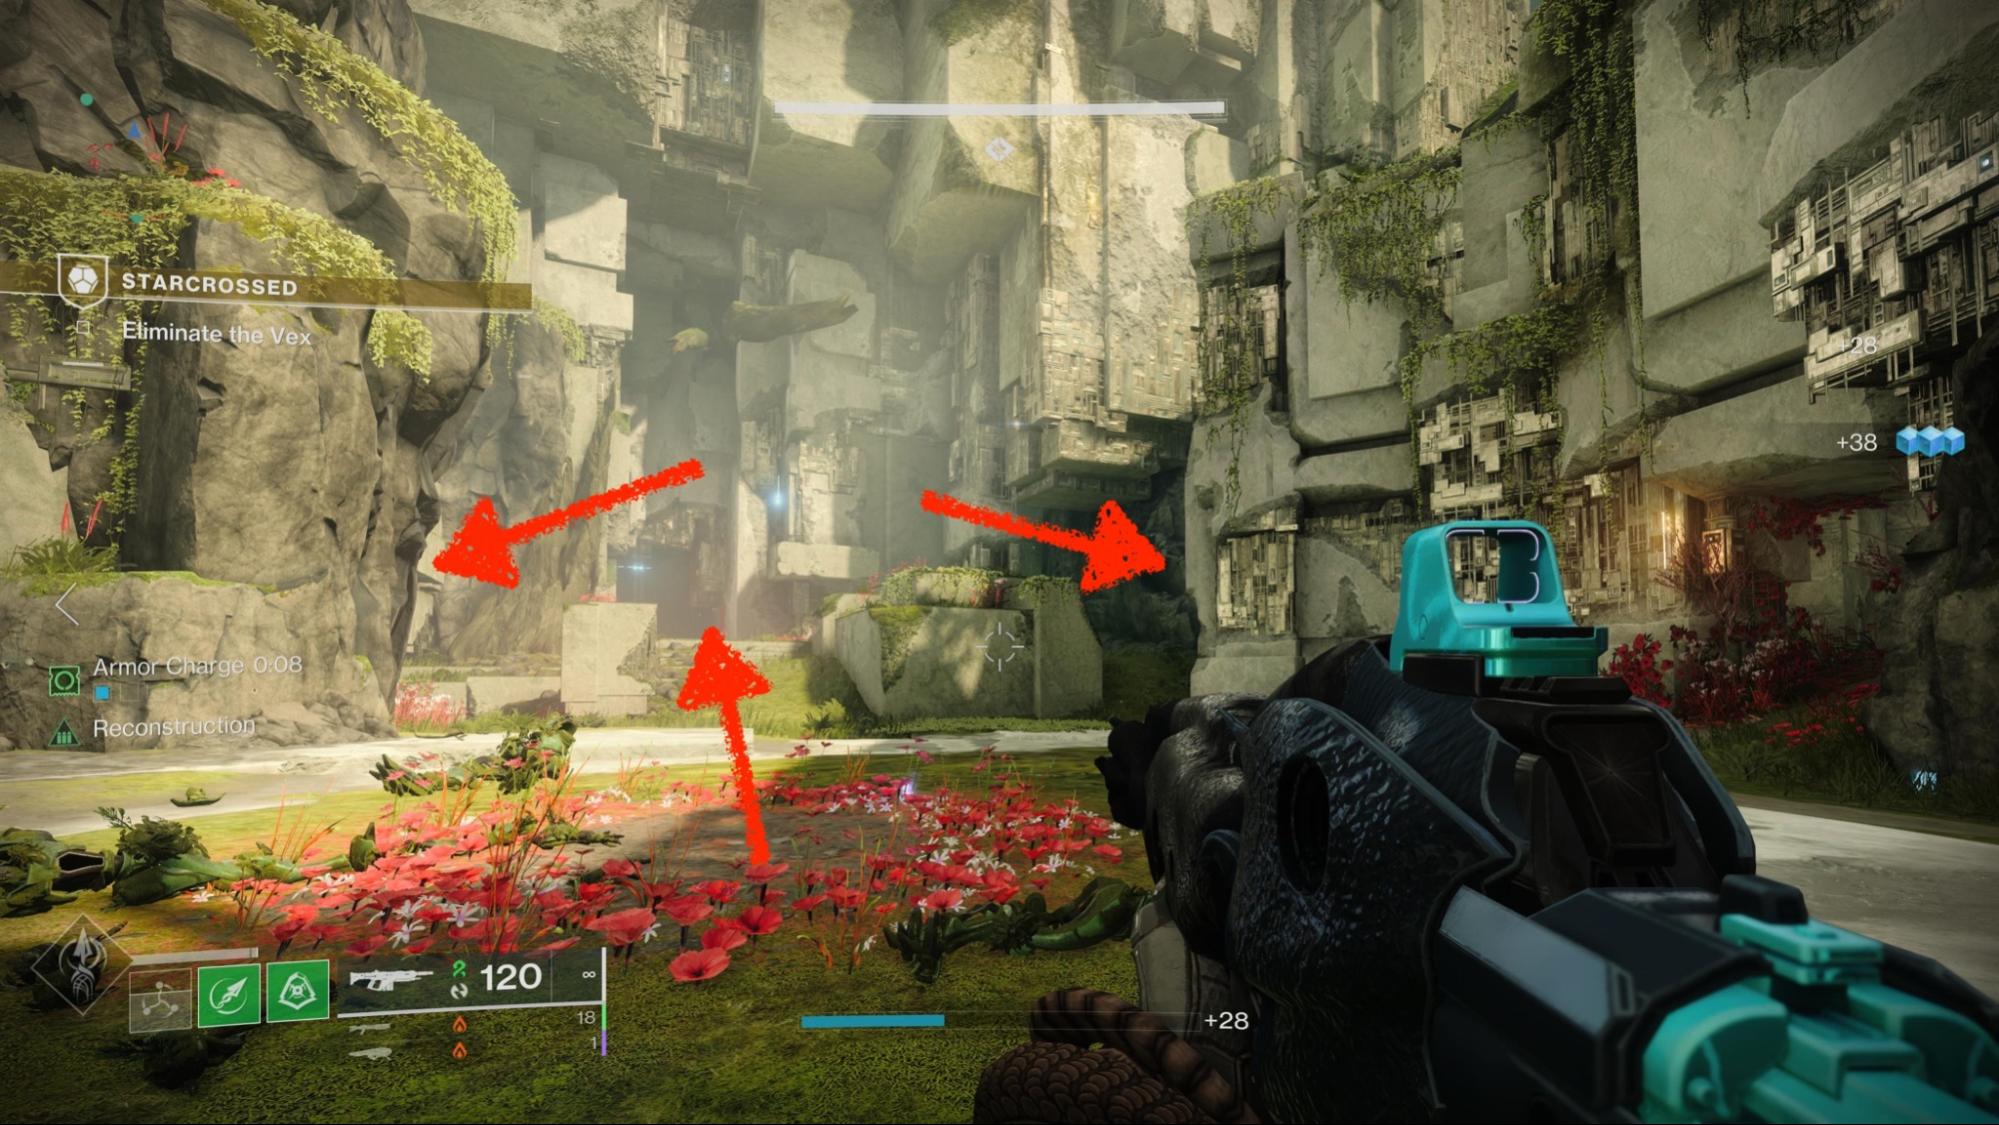
How to get Wish-Keeper in Destiny 2, Step 5
Step 6: Eliminate the Vex
Following the defeat of the three Gatekeeper Wyverns, a boss and swarms of Vex will spawn in the central area. Dispatch Ixion, Covetous Mind, and his cronies to complete this quest step.
Step 7: Traverse the Garden (yes, again!)
Ahead, yet another jumping puzzle awaits you and your fireteam. This time, you will find moving Vex platforms to be your primary obstacle. If platforming in Destiny 2 is not your favorite thing to do, fear not, as this section mostly requires you to focus on timing rather than covering great distances or heights. If you have difficulty understanding where to go, look for small sources of light across the chambers that indicate the path forward.
Proceed until you come upon a seemingly dead-end cliff. To your left, you will find a cliffside path allowing you a path forward. Along this path, you will encounter some minor enemies until you reach your next objective.
Step 8: Deactivate the Barrier
When you enter the area, you will notice another red well in front of you to the right. Nearby, down the stairs to the left, there will also be a blue well. Near this blue well is the titular barrier you will need to unlock again, by defeating enemies with the respective symbols in order from top to bottom. Step into both wells to combine both Sire’s Obligation and Dam’s Gift buffs to create the Crowned by Dragon’s buff. This will enable you to hunt down unique enemies called Obdurate Phalanxes located down the cavernous paths marked by the symbols. These enemies will be your targets to deactivate the locks and proceed forward.
A look at the barrier and the randomized locks you will need to deactivate in order.
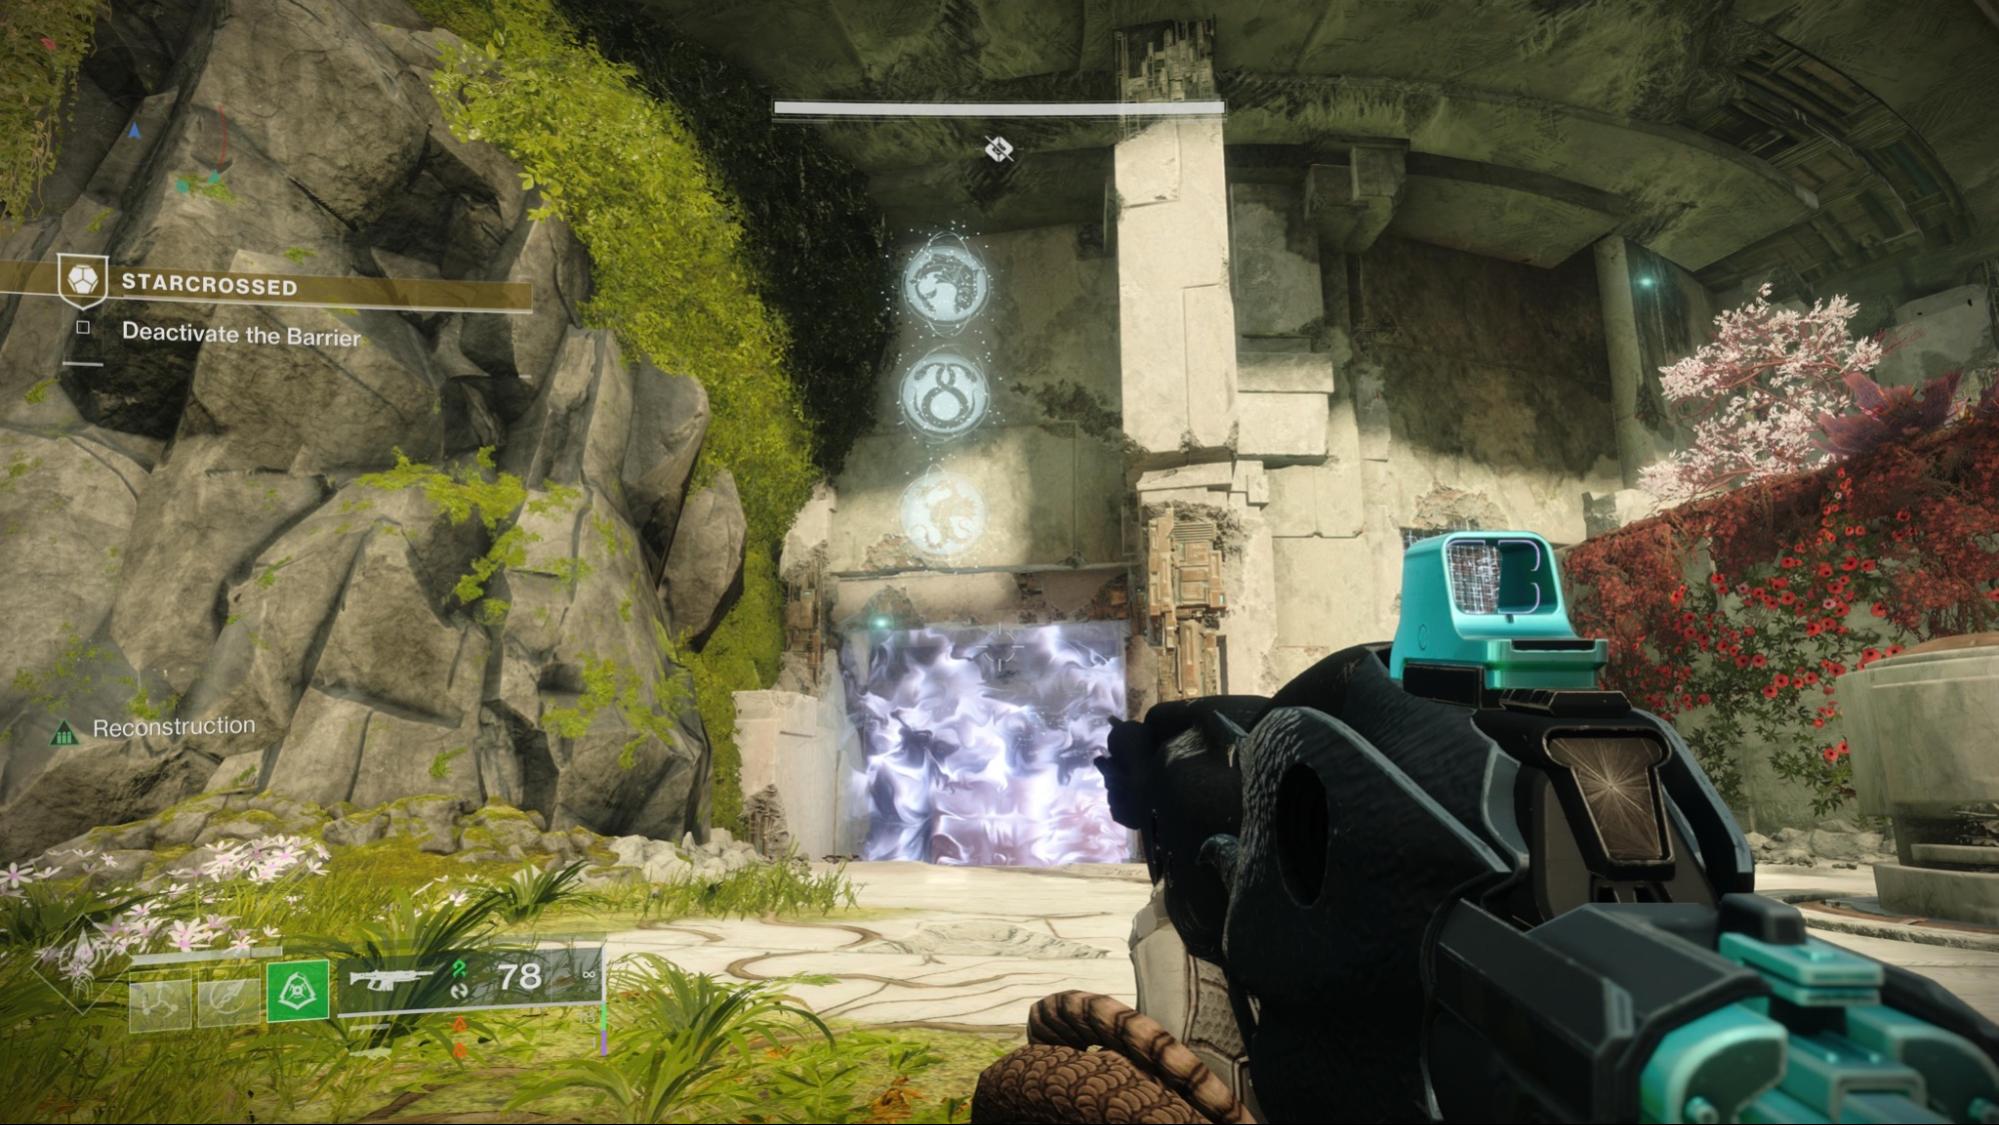
How to get Wish-Keeper, Step 8
Step 9: Defeat All Hostiles
Plant your rally banner and get ready for the final fight. As soon as you drop from the ledge that the barrier opened, you will see two wells side by side. Step through both to activate the Crowned by Dragons buff again and begin the fight. You’ll mostly want to focus fire on the boss Akardon, Pitless Mind, but it is also important to keep tabs on the mobs of other enemies as it is easy to get overwhelmed, especially as a solo player. Ensure you have Crowned by Dragins active at all times. It is important to note that stepping through both red and blue wells is unnecessary to refresh the buff’s timer; only one should suffice.
It is possible to be pinned by the boss in the small alcove in the room you originally dropped into. Avoid this, if possible, as it will be difficult to maneuver out of there once you are locked in, and the boss’s AOE damage could result in a failed attempt.
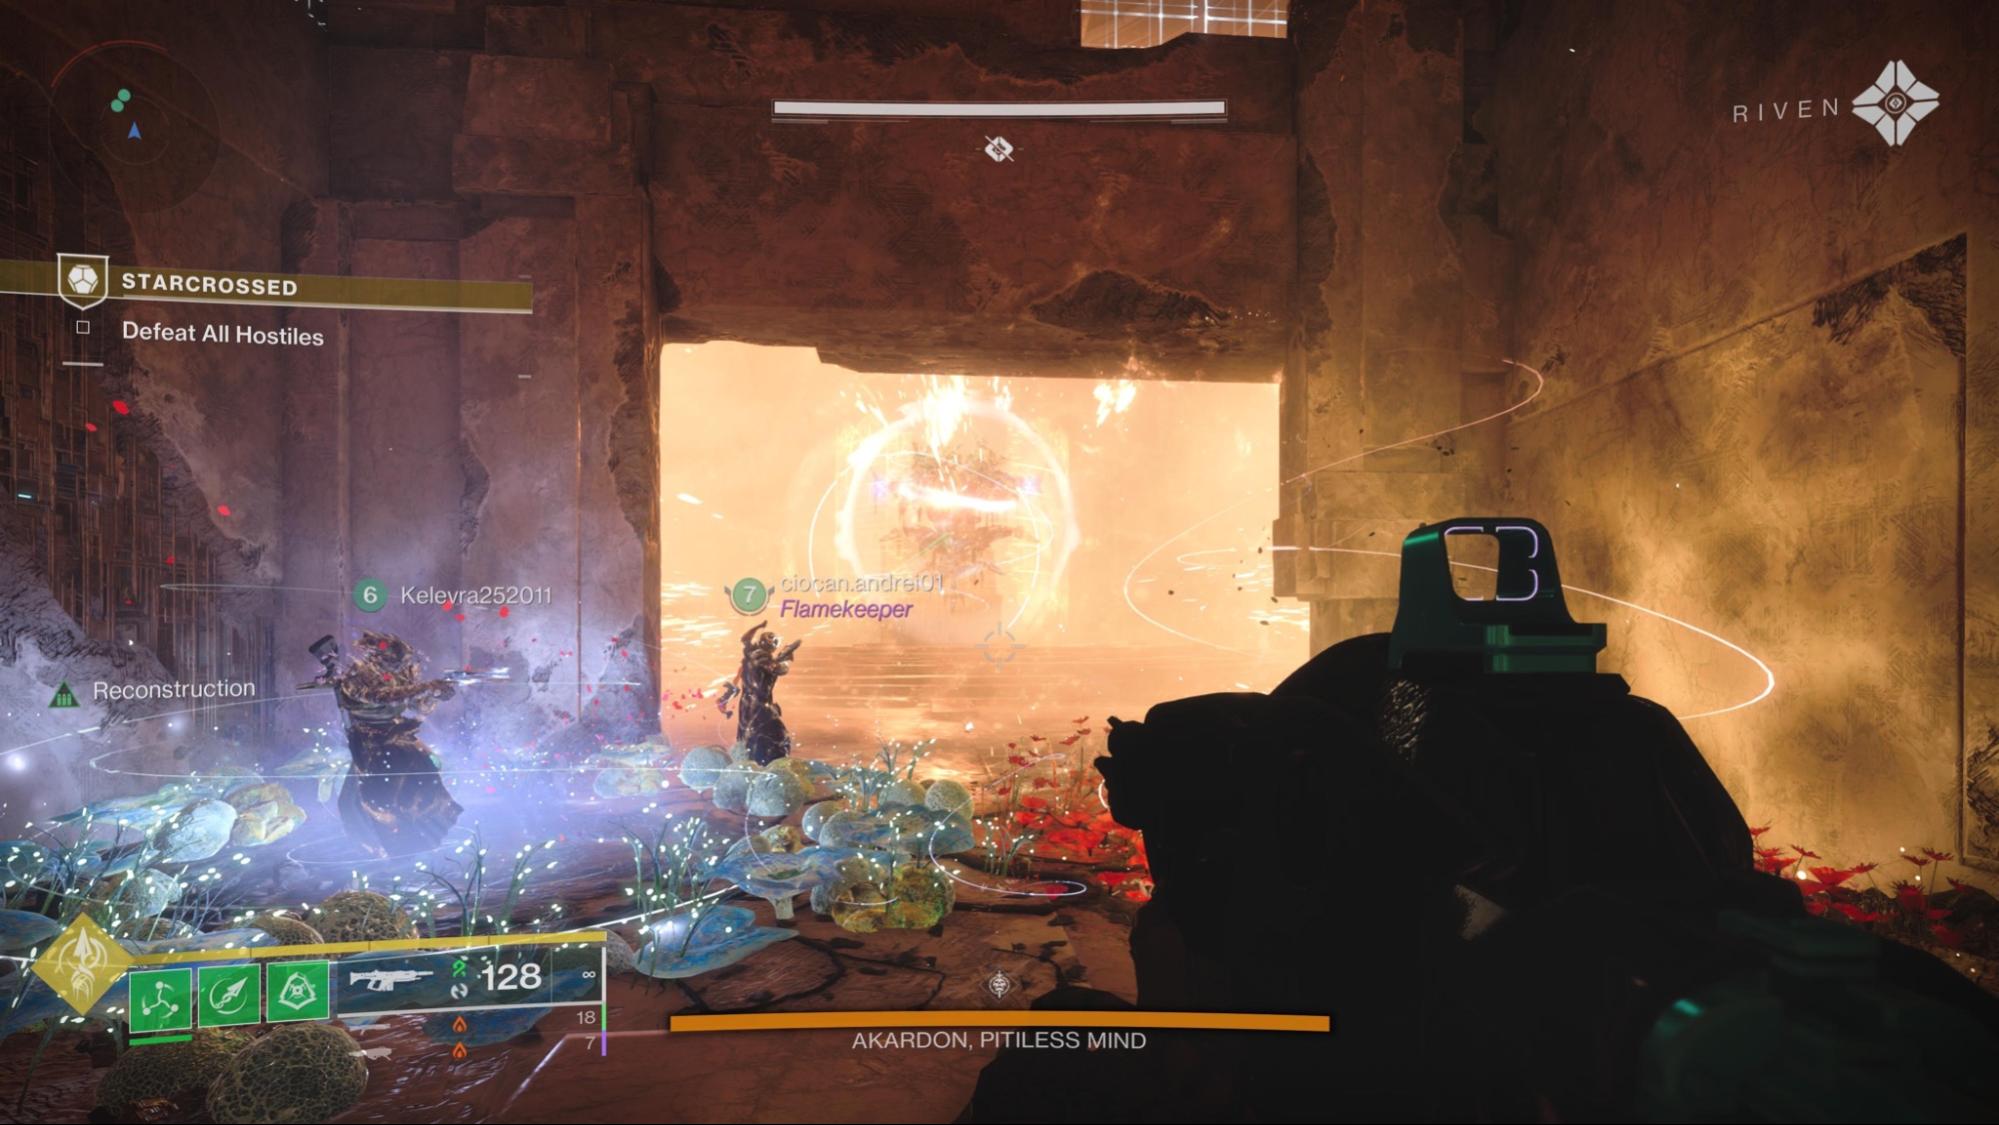
How to get Wish-Keeper, Final Step
Akardon is the final boss before you get your hands on Wish-Keeper.
Upon defeating Akardon, you will have completed the exotic mission. Proceed through the new hole in the Vex wall to find Riven’s missing egg, as well as a chest containing your precious new Wish-Keeper bow!
Congratulations on your new bow. All that’s left is to listen to the comms between Riven and Crow to get an explainer of her happy history with the Black Garden. Who knew she was such a softy!
Wish-Keeper is finally yours
Wish-Keeper is an exciting addition to the sandbox. A strand exotic bow with the exotic perk Snareweaver, landing hits and final blows with this weapon charges up a special Snareweaver arrow that can be shot from the hip to create Strand traps that will suspend your enemies. Strand suspend mechanics added in Lightfall have become some of the most effective PvE crowd-control options, setting the stage nicely for Wish-Keeper.
Before you go…
Looking to chase down more exotic loot? If you haven’t already, check out our guide to the exotic quest Hunter’s Remembrance and get your hand on the fantastic Wish-Ender bow.





0 Comments