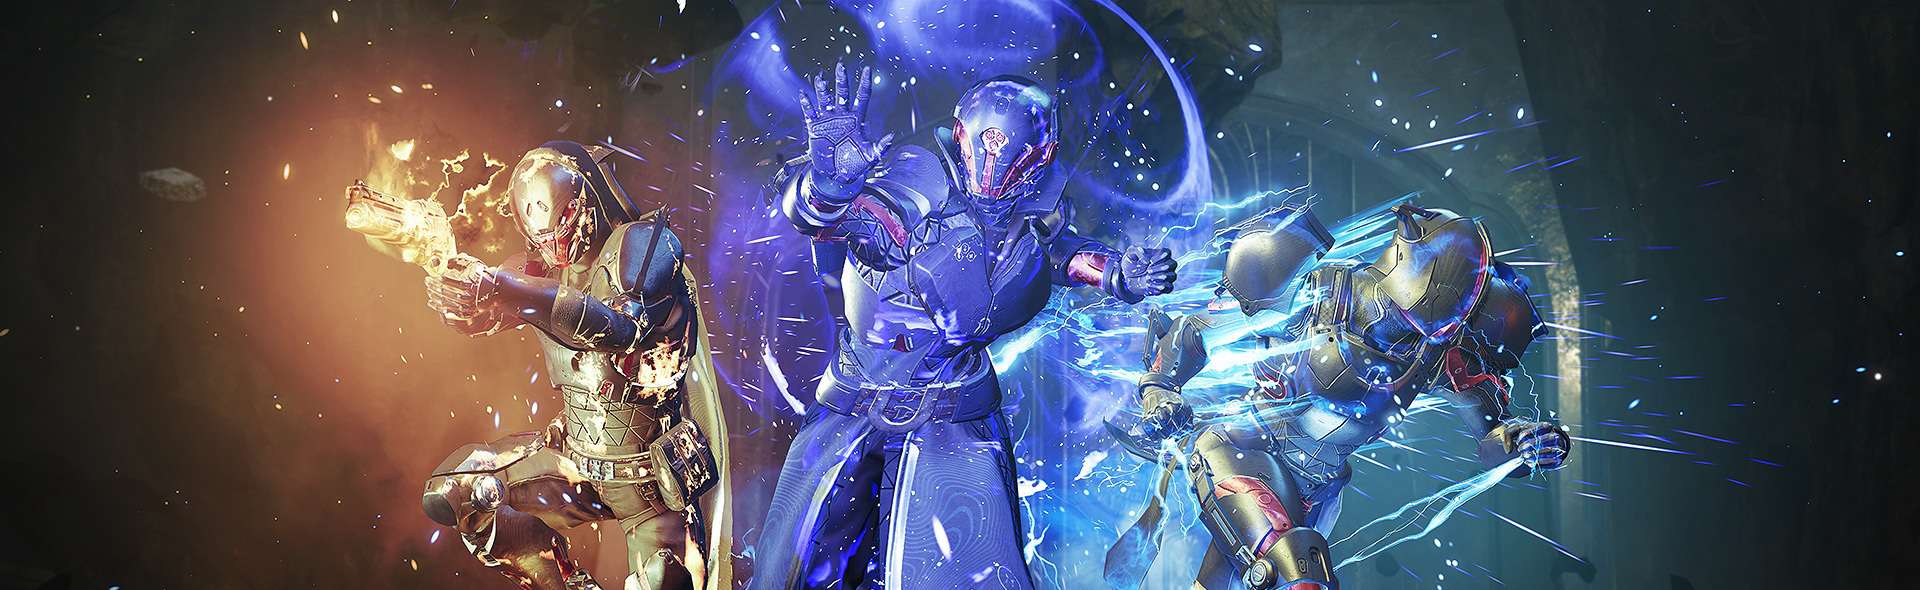
Divine Fragmentation is an exotic quest that begins near Sorrow’s Harbor on the Moon. You will be required to complete several steps to complete the quest, including a well-coordinated run of the Garden of Salvation raid. The effort will be worth it as the reward for this quest is the highly sought-after trace rifle Divinity.
This trace rifle continues to be an excellent choice for end-game PvE boss encounters thanks to its unique perk, Judgment, which allows its user to generate a critical spot on an enemy for your fireteam to greatly increase their damage output.
| Art | Weapon | Type | Archetype | Rarity | Ammo? | Element? | Requirements | In loot pool? | Ammo | Element | Tier | Excels | Source | Craftable? | Requires | Released | Slot | Can be Crafted? | Best of? | Top Perk? |
|---|---|---|---|---|---|---|---|---|---|---|---|---|---|---|---|---|---|---|---|---|
 | Divinity | Trace Rifle | Exotic | Exotic | Special | Arc | Shadowkeep | Yes | Strong ❘ A | PvE | Exotic Quest | Shadowkeep | Season 8 | Energy | No | Top-tier |
Divinity Exotic Quest Requirements
The Divinity exotic quest does have one pre-requisite – you must own Destiny 2’s expansion Shadowkeep, which grants access to the Divine Fragmentation quest and Garden of Salvation raid.
How To Get Divinity: Walkthrough
Step 1: Destroy Hidden Oracles on Nessus
After you snag your quest from the shambling Vex boss on the Moon, the first step of this quest requires you to head to Nessus and locate 3 Oracles hidden within different Lost Sectors.
A good place to start is the transmat location in Artifact’s Edge. The nearby Lost Sector, The Orrery, will house your first Oracle. To find it, look for a hidden opening on the upper left ledge of the inner chamber. Hop up here and squeeze through to find and shoot the enemy guarding the Oracle and, subsequently, the Oracle itself.
For the second Oracle, fast travel back to the Artifact’s Edge transmat location and travel in the opposite direction, this time towards the area of Nessus called The Tangle. Within this region, you will find the Ancient’s Haunt lost sector, which will be the location of the next Oracle. On the left side of the cave, about midway through the Lost Sector, hidden behind a rock, is a small sub-cave. Inside will be your second Oracle.
For the final Oracle, fast travel to The Cistern transmat point. Across the Vex Milk Lake and down below near the milk waterfalls, you’ll find the Lost Sector known as The Conflux. On the right side of the main hall, look for a place to jump up and go through the opening there. Inside, you will find your final Oracle for this quest step.

How to get Divinity, Step 1
Step 2: Defeat Vex on The Moon or in The Black Garden
Objective: Collect 120 decryption cores from Vex on the Moon or the Black Garden.
The best way to complete this next step is to return to the room with the Vex gate on the Moon. Here, dispatch the Vex that spawns, and they will drop decryption cores. Continue defeating these enemies until you’ve collected 120 cores and completed this quest step. Head to the Lectern of Enchantment at Eris’s base camp on the moon to unlock the next step of the Divine Fragmentation quest.
Step 3: Begin the Garden of Salvation raid with a coordinated fireteam
Before you dive into the raid, make sure you have a fireteam who is willing to spend the time to solve the teamwork-oriented puzzles required to complete this step of the quest. Your fireteam must complete the next steps together as it will be impossible on your own.
Once in the raid, pass through the Vex gate and immediately turn around. Drop down off the ledge to find a hidden alcove. It will look like a drop into the abyss below, but there is a hole in the wall to get into. Inside, flip the switch to make the Divinity puzzles available throughout the rest of the raid. You will know it is activated by a note in the bottom left-hand corner that reads “INITIATED: Security bypass protocol.”

How to get Divinity, Step 2
Before proceeding with the first encounter, on the narrow stairway up, you will find openings on both the left and right sides of the staircase. Have the team split up and find their way through the chambers inside. You will notice there are several levels inside. Have the team split up among the levels. The core mechanic for the puzzles in this raid required to unlock Divinity will have you and your team chaining a tether from a Vex cube, between you and your teammates, and through each of the Vex nodes which completes the puzzle. This will take communication and teamwork. For this first one, you will need to bridge the tether from the chamber on the left side of the central stairwell to the right chamber where the node is located.

How to get Divinity, Destiny 2
The second puzzle is located after you complete the encounter in which you and your fireteam successfully run from the Vex after the first encounter and reach the chest located at the end of the run. On the right side of this plain, you will find an opening to a chamber containing your next puzzle. For this particular one, it is easy for members of your team to proceed too far down the chamber and not be able to return the same way. Avoid this by having one team member navigate all the way through and find the Vex cube that initiates the puzzle, and have team members place themselves accordingly relative to where this first guardian starts the tether. Again, you will want to create a tether chain through each of the Vex nodes to complete the puzzle. The third puzzle will take place in a large interior space that has lots of tree branches, plants that create platforms for you to navigate, and glowing flora. This is one of the easiest ones to accomplish. Have your team position themselves accordingly around the tree branches and plant platforms to run the tether through the Vex nodes and complete the puzzle.
The fourth and fifth puzzles occur very near each other. In the circular room where the next raid encounter takes place, you will find the next puzzle. This one is fairly simple as well and can be completed similarly to the last.
The fifth puzzle will require careful navigation while maintaining the tether. Have your team completely tether to each other via the circular encounter room and stick close together. Proceed to the rotating circular exit point of the room which will be the path forward to the rest of the raid. Across the way, while maintaining your tether, you will see those pesky Vex nodes. You will need to time your jump and distance just right as a team to keep your tether alive and connect through these nodes. For this one, you can have team members stand right on top of each node. Make sure to communicate with your fireteam and you’ll have this one done in no time.
Proceed through the raid as normal. Once you are near the end of the raid you will find a small interior area with Vex milk on the ground. There will be a Vex cube to shoot and your team will need to stand in essentially a straight line along the Vex milk flow. Hidden up in the ceiling near the wall is the node you will need to tether to and complete the sixth puzzle.
Thankfully, there is only one last puzzle. Unfortunately, it is probably the hardest. Nearby to the last puzzle is the seventh puzzle. Drop down the adjacent alcove to find six plates with what look like holograms. You will need to move around the plates to complete a You will need to complete several different patterns connecting the Vex cube to the node at the opposite ends of the plates. You will need to complete each pattern quickly or the puzzle will reset. Before initiating the puzzle, assign numbers to the plates to have one team member lead with callouts for each player. Be patient with each other and communicate to complete this tough puzzle with your team.
At this point, hopefully, your fireteam isn’t completely sick of each other after all the puzzle-solving! All that is left to do is defeat the final Vex boss in the raid. Once you have had your final fun with tethers via this boss encounter, proceed to the loot chests in the center of the Vex lake to finally get your hands on the one-of-a-kind Divinity trace rifle.
Divine Fragmentation Reward
Congratulations on securing the best support weapon in Destiny 2! You will be really popular in raid groups now as Divinity is sure to be useful in nearly any boss encounter due to its Judgment Exotic trait and ability to dramatically improve overall team damage output.
That is all you need to know to complete the Divinity exotic quest, Divine Fragmentation. We hope this guide helped you in growing your exotic collection. For more Destiny 2 guides like this one, keep that crit-spot locked to Blueberries.gg!
| Item | Weapons | Type | Archetype | Ammo? | Element? | Requirements | In loot pool? | Rank | Source | Available? | Tier rank | Source ❘ DLC | Final Verdict | Released | Perks | Best of? |
|---|---|---|---|---|---|---|---|---|---|---|---|---|---|---|---|---|
| Divinity | Divinity | Trace Rifle | Exotic | Special | Arc | Shadowkeep | Yes | A › Strong | Exotic Quest | Strong ❘ A Excels in: PvE | Exotic Quest Shadowkeep | Slot: Exotic Perk: "Sustained damage with this weapon envelops the target in a field that weakens and ► Divinity has been a great choice for years now. Even though a recent nerf reduced its debuff to 15%, this trace rifle still proves its worth through the ability to make crits way easier to hit. Plus, it's still considered the best Overload weapon in the game. | Season 8 | Slot: Exotic Perk: "Sustained damage with this weapon envelops the target in a field that weakens and | Top-tier |
That is all you need to know to complete the updated Wish-Ender exotic quest, Hunter’s Remembrance. We hope this guide helps you grow your exotic collection. Ready to tackle other challenging (but rewarding) Exotic quests? We cover the Hunters’ Remembrance quest and Starcrossed quest here.

0 Comments