Ever since they were released as nightfalls, there has been endless debate over whether Battleground activities are Grandmaster Nightfall material. While differing opinions will no doubt endure, these GMs have added some much-needed variety to the rotation and are likely here to stay.
Today, we’ll cover one of the two battlegrounds in the nightfall rotation for Season of the Wish: Heist Battleground: Moon. From advice regarding loadouts to strategies for each major encounter, this guide has everything you’ll need to earn an Adept Braytech Osprey and progress on your Conqueror title. Let’s begin.
![]() Updated as of Season of the Wish (S23).
Updated as of Season of the Wish (S23).
Moon Battleground GM: Loadouts & Subclasses
As with all activities in Destiny 2, the first step to successfully clear this battleground is having the right tools for the job. Let’s take a look at what weapons and subclasses you and your fireteam should be running.
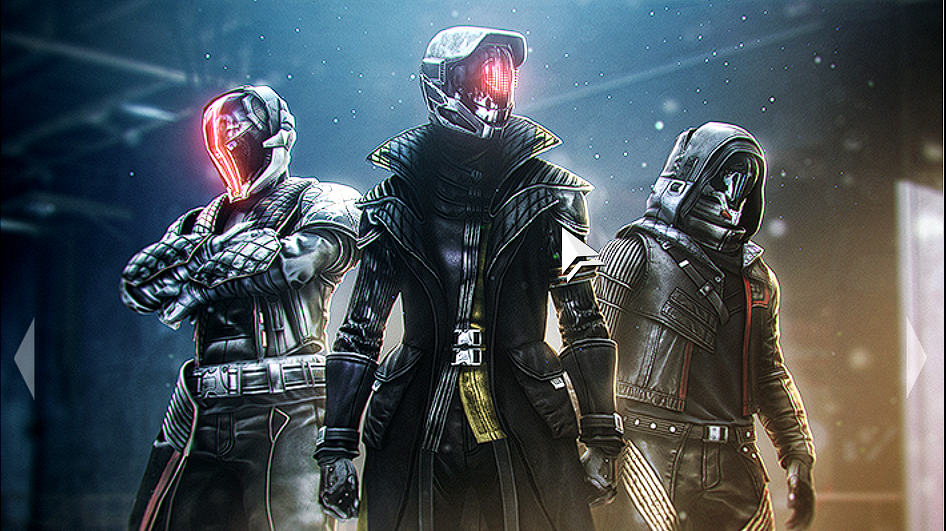
Subclasses and Exotics
Generally speaking, Warlocks and Hunters are strongest for this GM. Hunters should opt for a Void Invisibility build with Omnioculus, while Warlocks are best on Well of Radiance. Additionally, if you do have at least one Warlock on your team, have them run Cenotaph Mask. This exotic is absolutely busted and allows you to use heavy ammo liberally throughout the strike.
If you have a second Warlock, running a second Well of Radiance is smart, but their exotic is up to you. If you have a Titan on the team, a Strand subclass with Banner of War is your best bet. Lastly, if you don’t have a Warlock present (which we strongly advocate against), you’ll need at least one Hunter or Titan on Aeon Swift or Safe.
| Armor | Class | Type | Requirements | Source | Released | Requires | Exotic Perk |
|---|---|---|---|---|---|---|---|
 Cenotaph Mask | Warlock | Helm | Lightfall | Lost Sectors | Season 21 | Lightfall | Exotic Perk: "Steadily reloads a portion of your equipped Trace Rifles's magazine from reserves. Damaging a vehicle, boss, or champion with a trace rifle marks them as the target. When an ally defeats the marked target, generate special ammo for yourself and heavy ammo for your allies." |
 Aeon Swift | Hunter | Arms | Free-to-Play | Exotic Engrams | Season 2 | Free-to-Play | Exotic Perk: "Aeon Exotics have an additional mod socket which is used for Aeon Cult mods." |
 Omnioculus | Hunter | Chest | Beyond Light | Lost Sectors | Season 13 | Beyond Light | Exotic Perk: "You gain a second Smoke Bomb charge and have damage resistance while invisible. When you make an ally invisible, they gain damage resistance while invisible and you gain melee energy." |
 Aeon Safe | Titan | Arms | Free-to-Play | Exotic Engrams | Season 2 | Free-to-Play | Exotic Perk? Instead of an Intrinsic perk, Aeon Exotics have an additional mod socket which is used for Aeon Cult mods. |
Loadout
As for weapons, Wish-Ender is strongest for barrier champions, so have at least one person running it. You’ll also want the Cenotaph Mask Warlock to run a trace rifle of their choice, having everyone else on mid to long-range special weapons (fusion rifles, sniper rifles, etc.).
For unstoppable champions, we prefer simply using mods from the seasonal artifact. However, having someone run Leviathan’s Breath may not be a horrible idea if unstoppable champions become a struggle for your team. All other players should be running rocket launchers in their heavy slot, with one player on Gjallarhorn if possible.
| Art | Weapon | Type | Archetype | Rarity | Ammo? | Element? | Requirements | In loot pool? | Ammo | Element | Tier | Excels | Source | Craftable? | Requires | Released | Slot | Can be Crafted? | Best of? | Top Perk? |
|---|---|---|---|---|---|---|---|---|---|---|---|---|---|---|---|---|---|---|---|---|
 | Leviathan's Breath | Combat Bow | Exotic | Exotic | Heavy | Void | Shadowkeep | Yes | Strong ❘ A | PvE | Exotic Kiosk | Shadowkeep | Season 8 | Heavy | No | Top-tier | ||||
 | Gjallarhorn | Rocket Launcher | Exotic | Exotic | Heavy | Solar | 30th Anniversary | Yes | Best ❘ S | PvE + PvP | Grasp of Avarice Dungeon | 30th Anniversary | 30th Anniversary event | Heavy | No | Top-tier |
GM Power Level Requirements
If you’re interested in running a GM, you need to have a proper Power Level (including your Artifact’s bonus Power):
| Difficulty | Recommended | Enemies Power Level | Adept drop rate |
| Grandmaster | 1815 | 1840 | Common+ |
For the record, Power Level requirements were drastically reduced this season to allow more players to experience Grandmaster Nightfalls.
Moon Battleground GM rotation
Battleground Moon GM: Season 23
| Week | Nightfall | Location | Events | Week # |
|---|---|---|---|---|
| January 2, 2024 | Battleground - Moon | Moon | - | Week 6 |
| February 13, 2024 | Battleground - Moon | Moon | - | Week 12 |
| March 26, 2024 | Battleground - Moon | Moon | - | Week 18 |
| May 7, 2024 | Battleground - Moon | Moon | - | Week 24 |
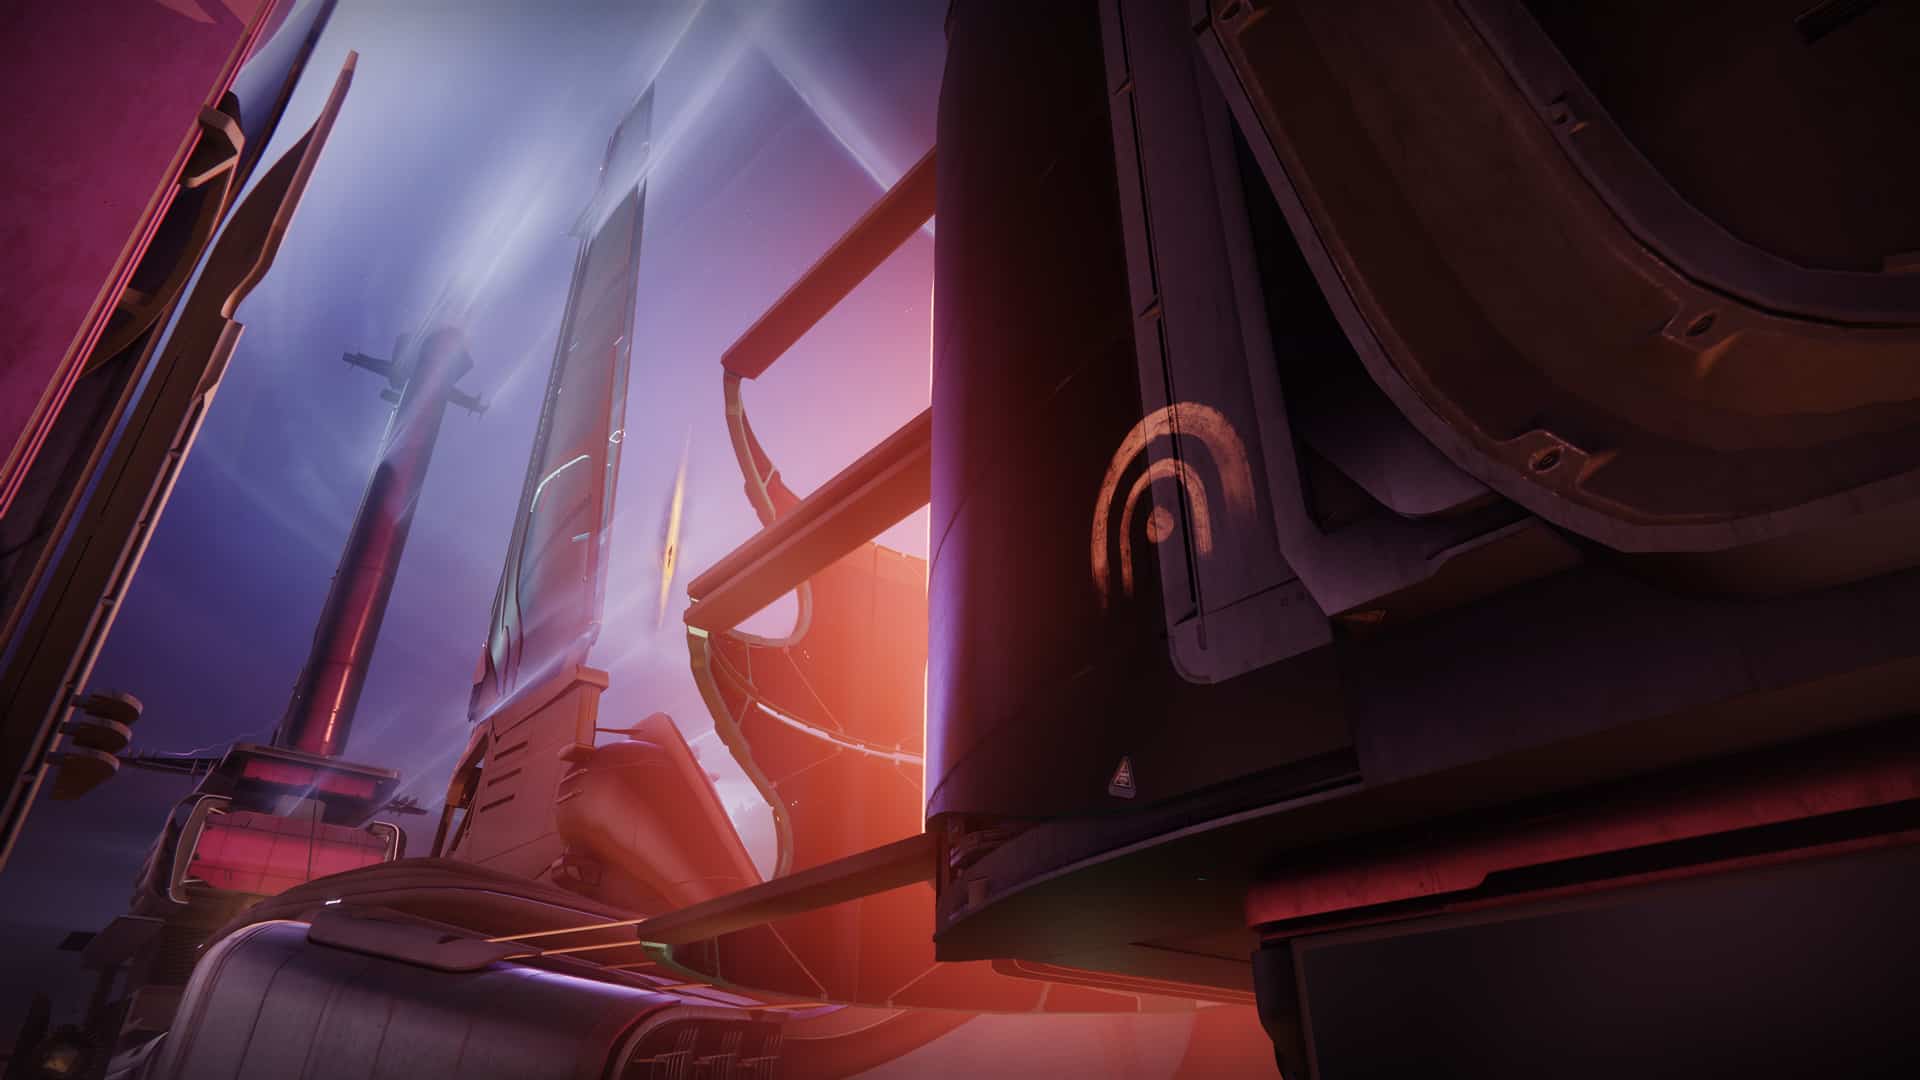
Heist Battleground Moon GM Guide

Moon Battleground GM, Destiny 2
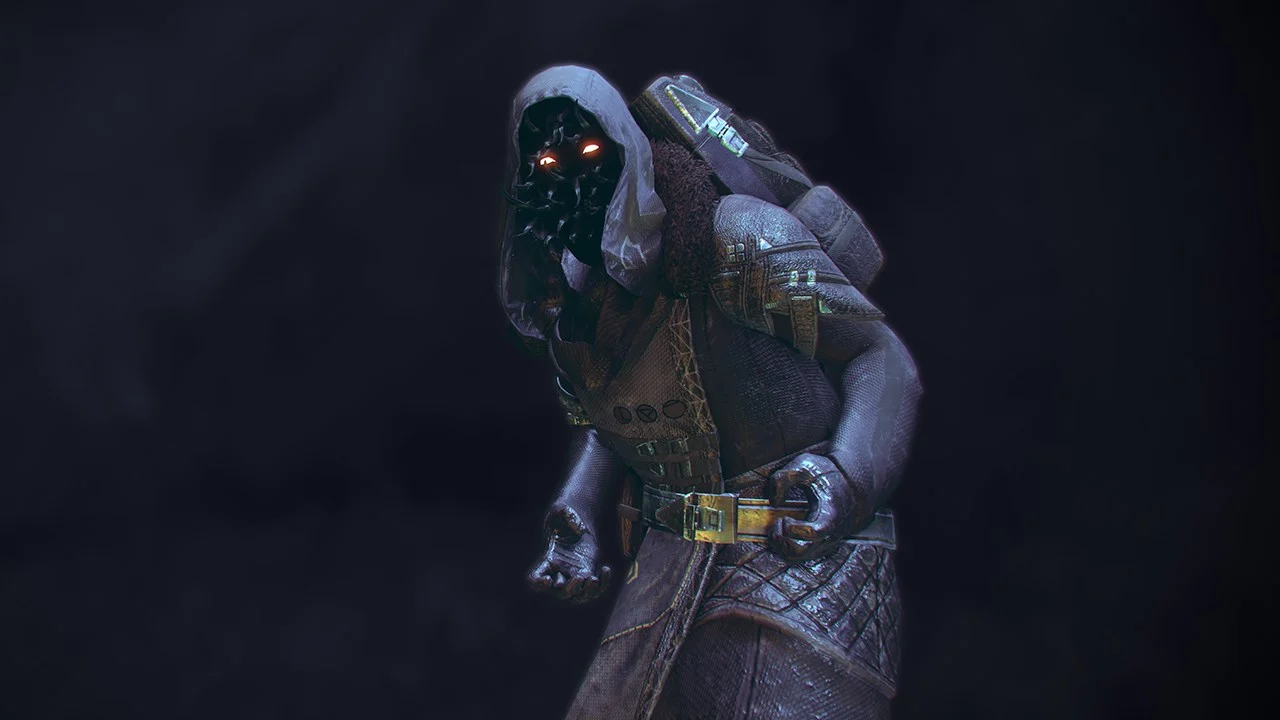
Clearing the Cryptoliths
Once you load in, immediately make your way up the hill to the right of the first cryptolith. From here, you should be able to easily fire rockets and special ammo down upon combatants. Not only does this hill provide you with cover from various enemies, but it is also distant enough from the seraph tower that it won’t identify you as a threat (yet).
After killing enough enemies, a Deathtongue Chorister will spawn next to the first cryptolith. Regardless of what else is alive at the time, this acolyte should be your priority. Leaving it alive for too long results in additional enemies and the suppression of most of your abilities, making this area significantly harder.
Continue working through enemies, dropping down from the hill once you have adequate room to work with. Throughout this entire area, remember to use heavy ammo and Super abilities liberally; as long as your Cenotaph Mask or Aeon cult player is doing their job, ammo should not be a problem. After defeating all enemies, the seraph tower will shut off, and the bunker will open.

Heist Battleground Moon GM, Destiny 2
Defend Ghost
After making your way through a handful of small rooms of enemies, you’ll encounter the most difficult part of this GM: the defend ghost section.
To position yourself nicely, stand in front of the terminal you’ll need to hack looking toward the large window (not the exit door). From here, move to the far left side of the room (the opposite side you entered from). Here, you should find boxes that will serve as cover during this entire section.
Play through this room exactly as you did the last: rotate through Super abilities and heavy ammo while paying close attention to any melee enemies that may ambush you. Void snipers are the most lethal thing here; they’ll always move toward the hacked terminal, so be wary of entering a line of sight with it.
One final note for this room is that all enemies will despawn when the terminal hack is complete, including remaining unstoppable abominations. If you’re set on getting Platinum rewards, let enemies swarm the terminal to inhibit progress on the hack, kill all remaining champions, and then complete the encounter.

Moon GM, Destiny 2
Defeating Once-Phyris, The Exhumed Tether
In the section before entering the boss room, use heavy ammo liberally to grab the lasers—enemies can swarm your team if you’re not careful, and you’ll pass by a crate that grants max heavy ammo before the boss anyway. Also, remember that a laser will spawn directly above the door you entered through, serving as a free laser and place for cover.
Upon entering the boss room, know that you can place Super abilities like Well of Radiance and Tether down before beginning the fight; they’ll immediately fully regenerate upon starting the encounter.
Position yourself in the close right corner of the arena, using available cover to your advantage. While heavy ammo will be more of a problem than it has been in previous areas, remember to use it as needed (in addition to regularly cycling Super abilities, as usual).
Continue working your way through the boss’ health and paying close attention to ads until the boss reaches 50% HP. This will trigger their immunity phase, where you’ll need to collect charges to deposit in the center terminal. For this segment, we still recommend using the close right corner as a home base while having your Hunter use Void Invisibility to retrieve and deposit the charges.
Once all five charges are safely deposited, return to what we described earlier: stay in the close right corner, cycle Super abilities, and fire anything you have at the boss until it dies.
Before you go
If you’re interested in tackling the Conqueror title and clearing all GMs this season, we have a guide for The Corrupted GM here.

0 Comments