K1 Logistics is one of the worst Lost Sectors to farm for. Runs typically take between 3 and 7 minutes to complete for the average player.
While our Lost Sectors hub features every Legend and Master Lost Sectors in the game, this K1 Logistics guide covers everything you need to know to prepare, including recommended loadouts, enemy shields, and Champions.
K1 Logistics Location and Requirements
The K1 Logistics Lost Sector is located in Archer’s Line, on the Moon.
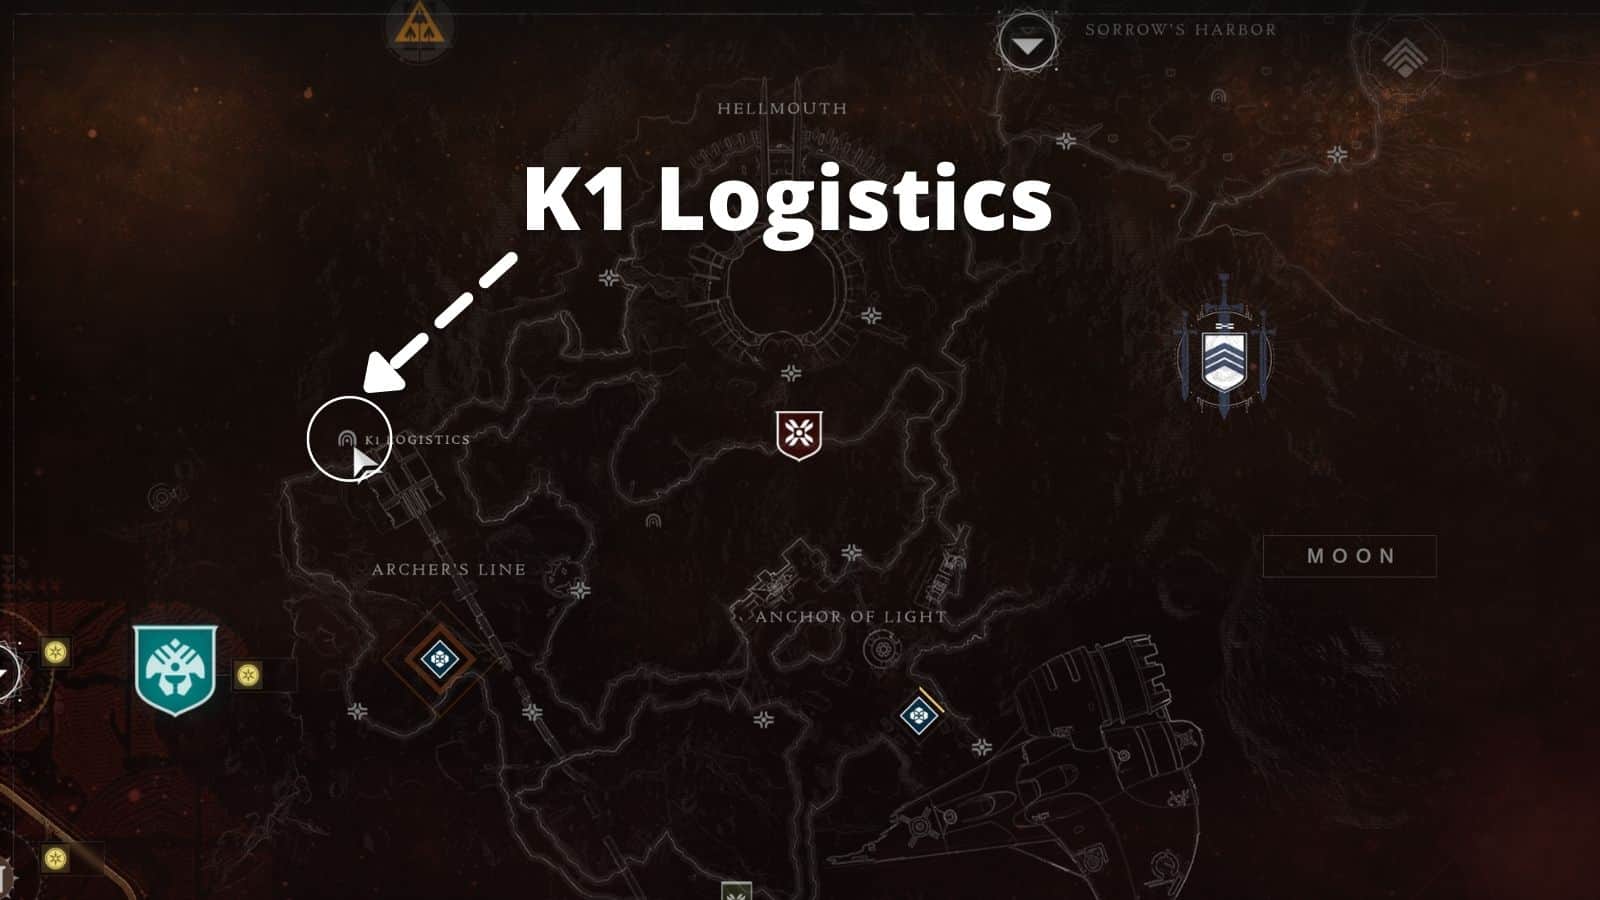
K1 Logistics Lost Sector location
K1 Logistics rotation
Seasonal rotation
| Date | Lost Sectors | Location | Reward | Threat | Surges | Week # |
Shields & Champions
This is an overview of what Burn, enemies, and overall difficulty you should expect in this Lost Sector:
| Lost Sector | Location | Threat | Tier | Shields | Champions |
These are the types of Champions you’ll have to deal with:
| K1 Logistics Champions |  |
 |
| Legend | x2 Overload Captains | x3 Barrier Servitors |
| Master | x6 Overload Captains | x4 Barrier Servitors |
K1 Logistics Modifiers: Legend & Master
Legend Modifiers:
- Void Burn: +50% Void damage dealt and received.
- Hot Knife: Shanks now have Solar shields.
- Equipment Locked: You will not be able to change your equipment after this activity starts.
- Match Game: Enemy shields are highly resistant to all unmatched elemental damage.
- Limited Revives: Limited Fireteam revives. Gain additional revives by defeating Champions.
- Shields Foes: You will face combatants with Solar and Void shields.
- Champion Foes: You will face Barrier and Overload Champions.
Master Modifiers:
- All of the above, plus
- Hot Knife: Shanks now have Solar shields
Difficulty: K1 Logistics is one of the worst Lost Sectors to farm.
Recommended loadout
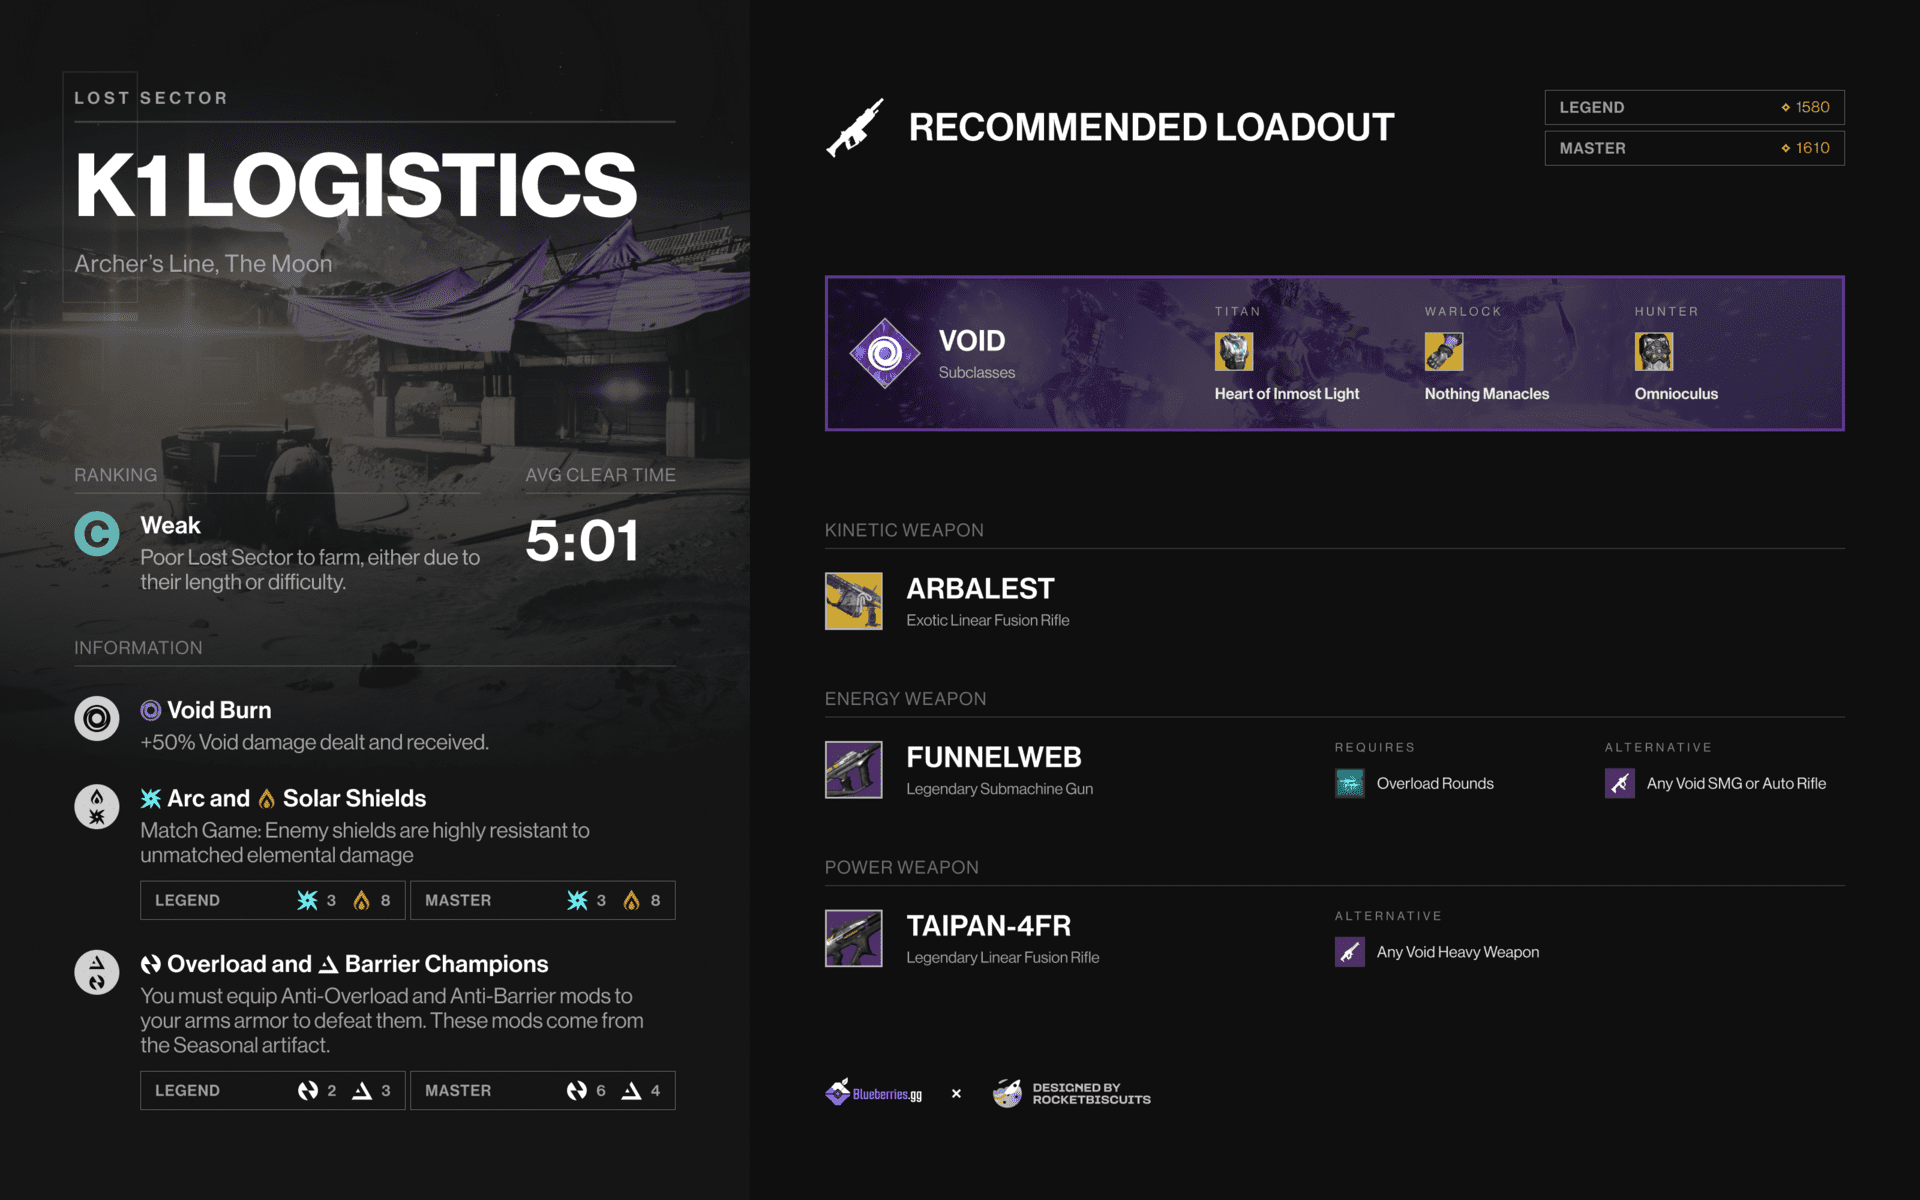
Weapons & Armor
| Art | Weapon | Type | Archetype | Rarity | Ammo? | Element? | Requirements | In loot pool? | Ammo | Element | Tier | Excels | Source | Craftable? | Requires | Released | Slot | Can be Crafted? | Best of? | Top Perk? |
|---|---|---|---|---|---|---|---|---|---|---|---|---|---|---|---|---|---|---|---|---|
 | Arbalest | Linear Fusion Rifle | Exotic | Exotic | Special | Kinetic | Lightfall | Yes | Best ❘ S | PvE | Exotic Quest | Lightfall | Season 6 | Kinetic | No | Top-tier | ||||
 | Strident Whistle | Combat Bow | Precision | Legendary | Primary | Solar | Free-to-Play | Yes | Strong ❘ A | PvE | Vanguard Focusing | Free-to-Play | Season 17 | Energy | No | Top-tier | Incandescent | |||
 | Taipan-4fr | Linear Fusion Rifle | Precision | Legendary | Heavy | Void | Free-to-Play | Yes | Average ❘ B | PvE | Gunsmith | Free-to-Play | Season 18 | Heavy | Craftable | Repulsor Brace |
This season, the best loadout is:
- Arbalest
- Funnelweb
- Taipan-4FR
- A Void 3.0 Build
Arbalest remains the best weapon to counter Barrier Champions in Destiny. It requires no additional mods and offers strong damage from safety.
Unfortunately, K1 Logistics has a lot of Solar shields. Normally, the Solar shielded Shanks make K1 Logistics tough to run. You’d need to decide between a Void Energy weapon or a Solar one. The Void option does more damage in the Lost Sector, but it’s harder to break Solar shields.
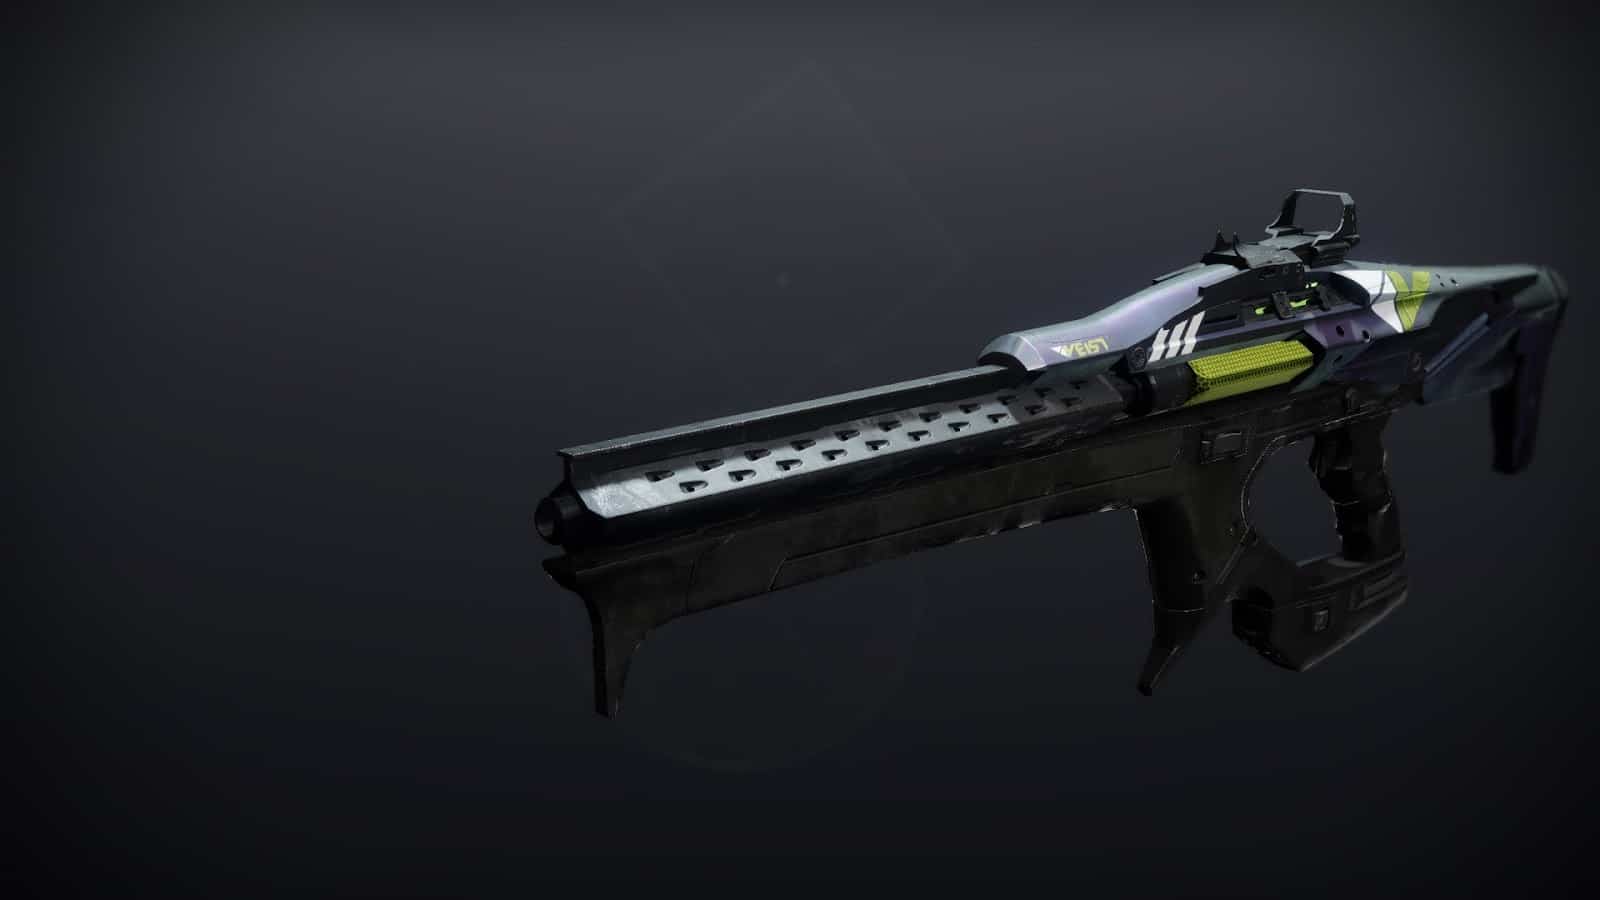
Taipan-4FR Linear Fusion Rifle, Destiny 2
On the bright side, you can use the best Void Linear Fusion Rifle for Champion and Boss DPS. The Taipan-4FR is a brand new Linear that you can craft on the Enclave. Champions and the final boss won’t stand a chance against it. With Void Burn active in the Lost Sector, Champions go down very quickly. A lot of the time, you can even kill a Barrier Champion faster than it’ll create a shield for itself. Make sure you’re able to spawn Void Wells. When you pick them up, you’ll buff Taipan even more because of the Font of Might armor mod.
Essential Mods
Make sure to equip these mods for easy runs:
| Art | Mod Name | Slot | Cost | Requirements | Effects | Type |
|---|---|---|---|---|---|---|
 | Harmonic Siphon | Helmet | 1 | Rank 6 | Rapid final blows with weapons matching your Subclass create an Orb of Power. | General |
Requirements
| Difficulty | Legend | Master |
| Recommended Power | 1580 | 1610 |
| Exotic armor (if solo) | Rare | Common |
Needless to say, these aren’t easy and the least you should do is ensure you have a reasonable Power Level. By reasonable, we mean no less than 10 Power Levels below the recommended levels. If you find yourself struggling, work on increasing your Power Level as much as possible and focus on Legend Lost Sectors.
How to unlock Legend & Master Lost Sectors? You’ll need to complete the normal version of the Lost Sector and reach 1510 Power Level to even see them in the Director.
K1 Logistics guide
K1 Logistics ranks very low out of every Lost Sector in Destiny 2. Seasonal Anti Barrier and Overload Rounds never give many good options. One season, the Champions are easy to kill, but the Solar shields are difficult. The next season, the Champions are what makes K1 Logistics a slog to run.
Do you really need a missing Exotic armor piece or want to farm for a better roll? I recommend waiting for days for a more enjoyable and faster Lost Sector to run. But if K1 Logistics doesn’t deter you, there are two common areas that players have trouble with.
First area
The first is at the beginning of the Lost Sector. The entrance is so closely confined that enemies can swarm you very easily.
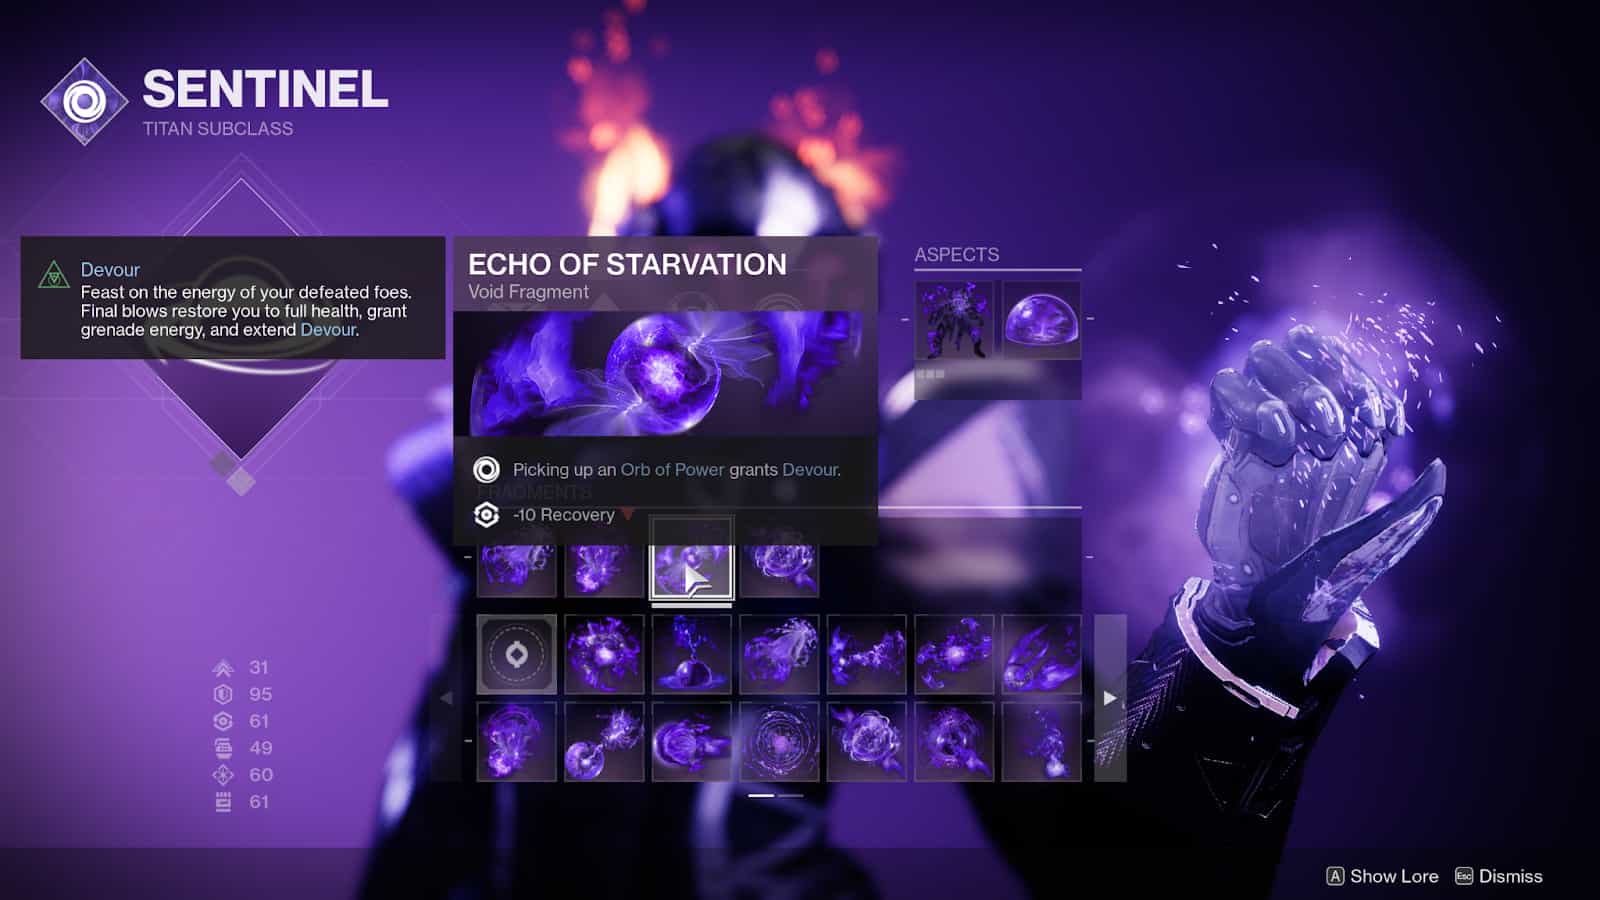
Start K1 Logistics by using Taipan-4FR on the Barrier Champion. You can do this the moment you spawn or after you kill some enemies. When the Champion summons an immunity shield, swap to Arbalest to pop it, and then finish killing the Servitor.
If you can, get another kill immediately after with Taipan-4fr. This will spawn an Orb of Power for you from the Harmonic Siphon armor mod. With Echo of Starvation Void 3.0 fragment, Devour will activate when you pick up that Orb. Devour grants you ability energy and health for every kill you get. This makes you nearly unkillable from start to finish. Devour will make K1 Logistics significantly easier to complete.
Boss room
The last area that causes the most difficulty is the final boss room. It’s a wide-open arena with hardly any cover and enemies surrounding you.
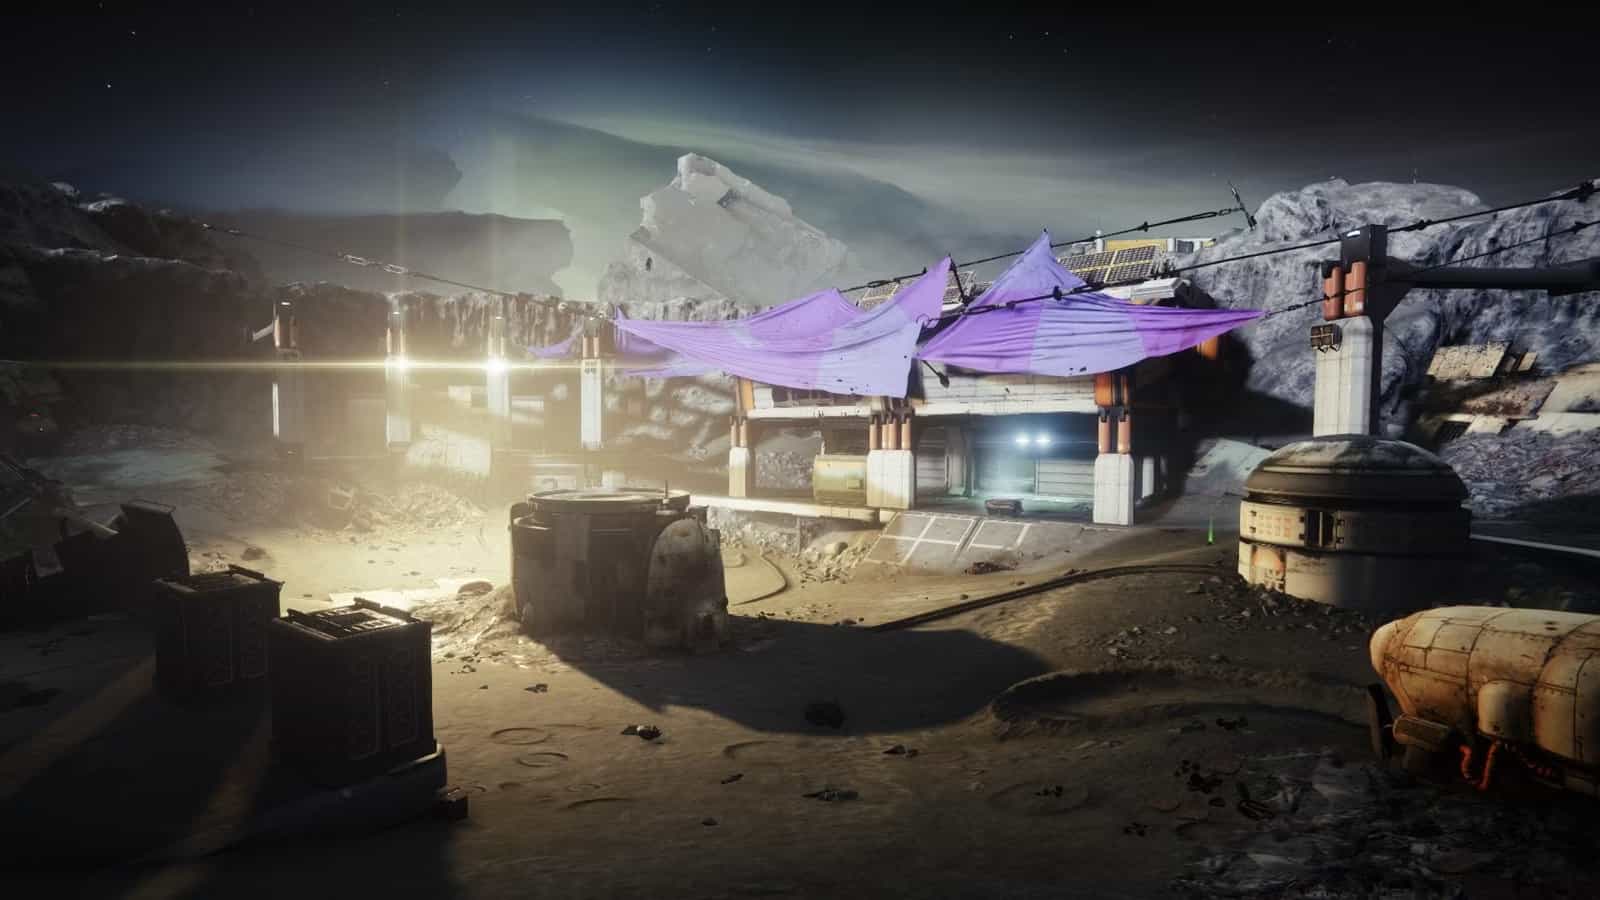
Final boss room, K1 Logistics Lost Sector
When you enter the room, walk forward for the little bit of cover offered. This is one of the safest places in the room aside from next to the Lost Sector chest. Rotate between these two areas as you kill all of the enemies. We like to kill the rest of the enemies in the room with Void Abilities and our bow. Once enough enemies are dead, the boss’ immunity shield disappears.
When it reaches 50% health, it moves to the left side of the room (if looking at the chest). At 25% health, it teleports to the opposite side of the room. Use your Super, Void 3.0 abilities, and your Linear Fusion Rifle to kill the boss and loot the chest.
Lost Sector Rewards
As a reminder, completing Legend or Master Lost Sectors solo is the only way to acquire several specific Exotic armor pieces. While our Lost Sector Exotics guide covers them all, including their rotation for the remainder of the season, these are all Lost Sector Exotics available today:
Lost Sector Exotics today
| Date | Name | Armor | Class | Type | Requires | Exotic Perk |
|---|---|---|---|---|---|---|
| 2024-04-25 | Mask of Bakris |  Mask of Bakris | Hunter | Helm | Beyond Light | Replaces your Stasis subclass Dodge ability with a longer range, faster moving shift that partially cloaks you during use. After shifting, your Stasis and Arc weapons deal increased damage for a short time. |
| 2024-04-25 | Cyrtarachne's Facade |  Cyrtarachne's Facade | Hunter | Helm | Lightfall | Gain Woven Mail when activating grapple. Increased flinch resistance while Woven Mail is active. |
| 2024-04-25 | Blight Ranger |  Blight Ranger | Hunter | Helm | The Witch Queen | Attacks you redirect with your Arc Staff deal massively increased damage and generate Orbs of Power for your allies. |
| 2024-04-25 | Cadmus Ridge Lancecap |  Cadmus Ridge Lancecap | Titan | Helm | Lightfall | Diamond Lances create Stasis crystals on impact when thrown, with more crystals created by hitting bosses and vehicles. While using a Stasis subclass and behind your rally barricade, rapid precision hits and combatant final blows with a Stasis weapon creates a Diamond Lance near you. |
| 2024-04-25 | Precious Scars |  Precious Scars | Titan | Helm | Beyond Light | Final blows from weapons with a damage type matching your subclass energy create a burst of healing around you. After reviving or being revived, you gain an aura that provides overshields to you and nearby allies. |
| 2024-04-25 | Loreley Splendor Helm |  Loreley Splendor Helm | Titan | Helm | The Witch Queen | When you have Sun Warrior, your Sunspots heal you. When you are critically wounded, create a Sunspot at your location. |
| 2024-04-25 | Dawn Chorus |  Dawn Chorus | Warlock | Helm | Beyond Light | Your Daybreak projectiles deal more damage and scorch targets on impact. Your scorch is improved and you gain a small amount of melee energy when your scorch damages a target. |
| 2024-04-25 | Cenotaph Mask |  Cenotaph Mask | Warlock | Helm | Lightfall | Steadily reloads a portion of your equipped Trace Rifles's magazine from reserves. Damaging a vehicle, boss, or champion with a trace rifle marks them as the target. When an ally defeats the marked target, generate special ammo for yourself and heavy ammo for your allies. |
| 2024-04-25 | Fallen Sunstar |  Fallen Sunstar | Warlock | Helm | The Witch Queen | Ionic traces you create move faster and grant you additional ability energy. Nearby allies also gain ability energy when you collect an ionic trace. |
K1 Logistics Summary
If this guide had too much information and you can only remember one sentence, these are the highlights:
Featuring a Void burn modifier, The K1 Logistics Lost Sector features Solar and Arc shielded enemies and Overload and Barrier Champions. Due to its length to complete, this is a poor Lost Sector to farm.
Before you go…
Hopefully, you now have everything you need to know how to farm this Lost Sector. But if you find yourself struggling, take your game to the next level with a top-tier build or one of the best weapons in the game.



0 Comments