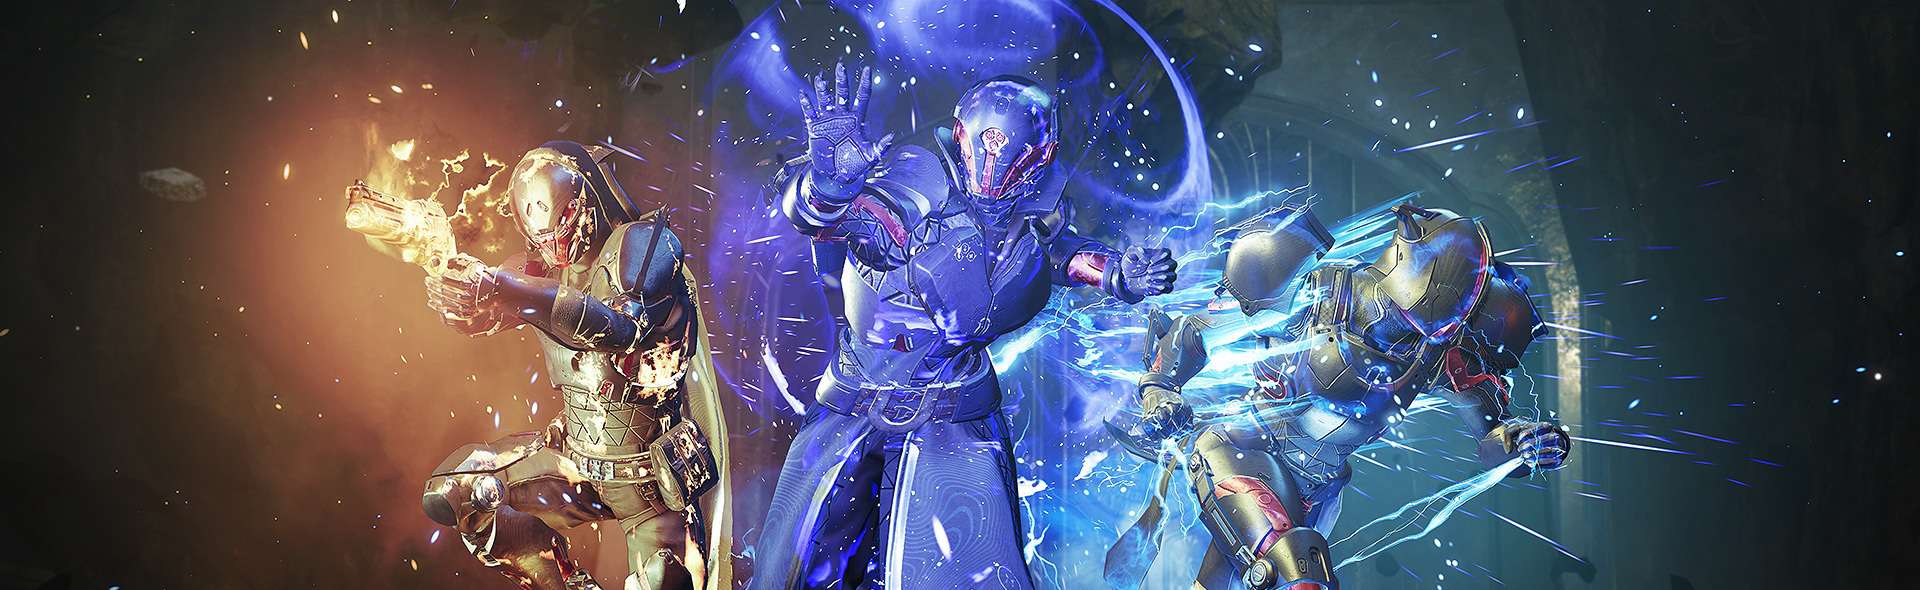
Grandmaster Nightfalls are perhaps the most challenging endgame activity in Destiny 2. With an insane Power Level requirement and unforgiving modifiers, Grandmaster Nightfalls will challenge all but the top fireteams out there.
This guide will give you everything you need to tackle and conquer the Birthplace of the Vile GM, including loadouts, preferred subclasses, tactics, and more.
| Art | Nightfall | Threat | Shields | Champions | Requires |
Loadout and Subclasses
![]() Updated as of Season of the Seraph (S19).
Updated as of Season of the Seraph (S19).
The following guide was heavily inspired by Mac‘s excellent video covering all Grandmasters this season.
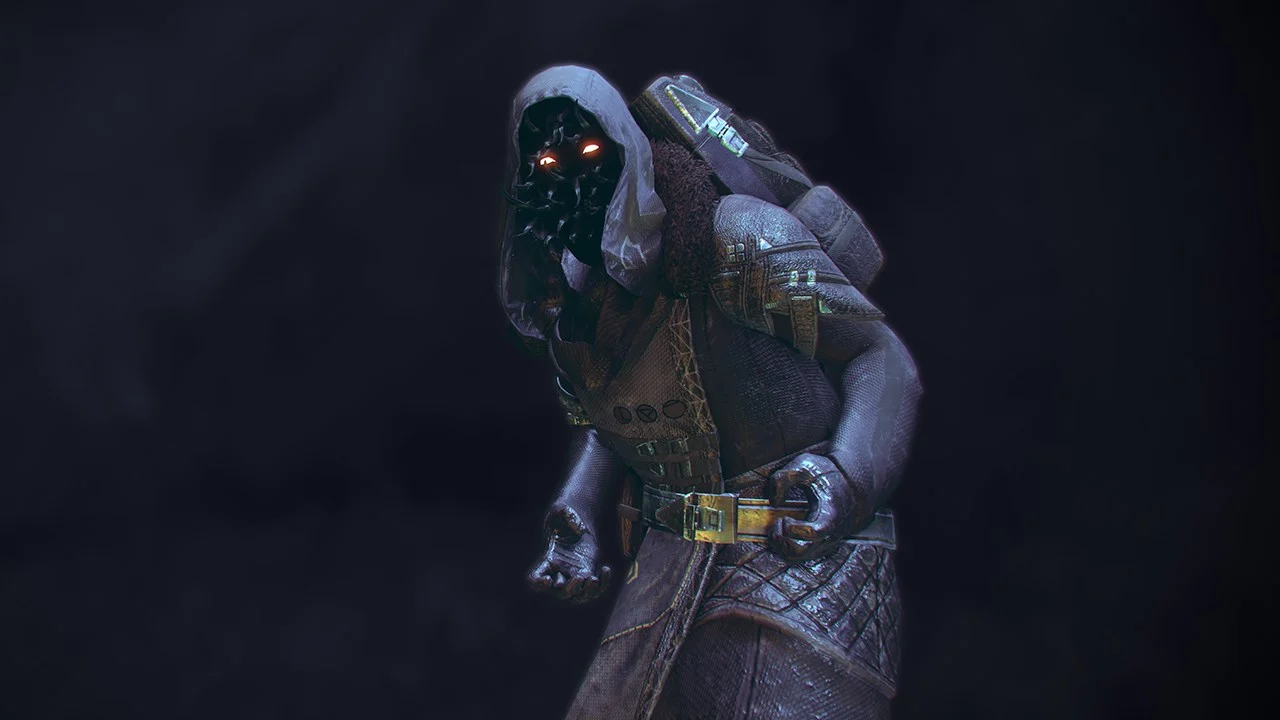
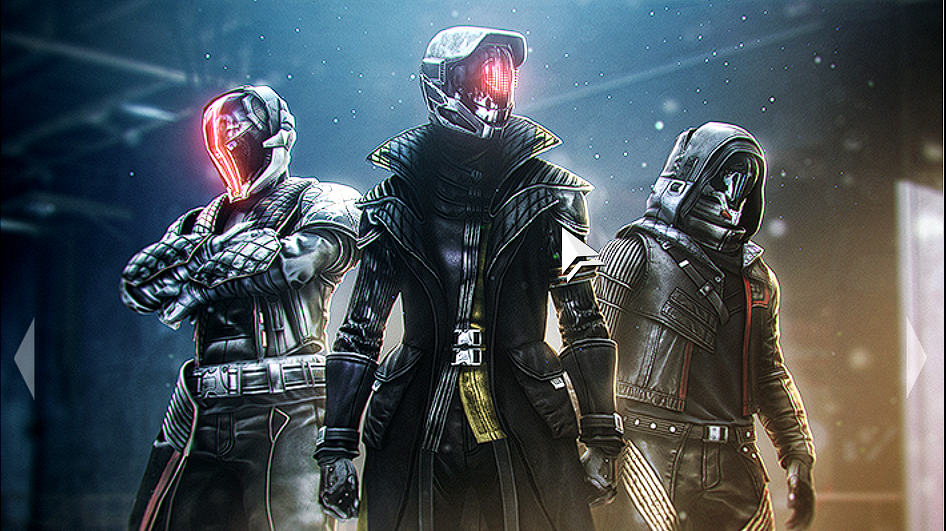
Subclasses & Exotics
For class loadouts, Hunters want to rock an “Invis” Void Nightstalker build with Omnioculus. Warlocks want to spec into Stasis with Osmiomancy Gloves to freeze Wyverns. And Titans can go with an Arc build and Heart of Inmost Light.
| Armor | Class | Type | Requirements | Source | Released | Requires | Exotic Perk |
|---|---|---|---|---|---|---|---|
 Osmiomancy Gloves | Warlock | Arms | The Witch Queen | Lost Sectors | Season 16 | The Witch Queen | Exotic Perk: "Your Coldsnap grenades have an additional charge that recharges quicker on direct impact. The seeker spawned from Coldsnap grenades travels further." |
 Omnioculus | Hunter | Chest | Beyond Light | Lost Sectors | Season 13 | Beyond Light | Exotic Perk: "You gain a second Smoke Bomb charge and have damage resistance while invisible. When you make an ally invisible, they gain damage resistance while invisible and you gain melee energy." |
 Heart of Inmost Light | Titan | Chest | Forsaken Pack | Exotic Engrams | Season 4 | Forsaken Pack | Exotic Perk: "Using an ability (grenade, melee, or Barricade) empowers the other two abilities. Empowered means abilities have faster regen, melees and grenades do more damage, and Barricades have more hit points." |
Loadout
With Barrier and Overload champions, Solar and Arc shields, and a Void burn, loadouts for this strike are as follows. One player should run Divinity, a kinetic Pulse rifle with an Anti-Barrier mod, and a Void Linear fusion rifle.
| Art | Weapon | Type | Archetype | Rarity | Ammo? | Element? | Requirements | In loot pool? | Ammo | Element | Tier | Excels | Source | Craftable? | Requires | Released | Slot | Can be Crafted? | Best of? | Top Perk? |
|---|---|---|---|---|---|---|---|---|---|---|---|---|---|---|---|---|---|---|---|---|
 | Divinity | Trace Rifle | Exotic | Exotic | Special | Arc | Shadowkeep | Yes | Strong ❘ A | PvE | Exotic Quest | Shadowkeep | Season 8 | Energy | No | Top-tier | ||||
 | Stay Frosty | Pulse Rifle | Lightweight | Legendary | Primary | Stasis | Free-to-Play | Yes | Average ❘ B | PvP | Event: Dawning | Free-to-Play | Season 19 | Kinetic | No | |||||
 | Taipan-4fr | Linear Fusion Rifle | Precision | Legendary | Heavy | Void | Free-to-Play | Yes | Average ❘ B | PvE | Gunsmith | Free-to-Play | Season 18 | Heavy | Craftable | Repulsor Brace |
The rest of the Fireteam should run Arbalest, a Void Scout rifle with an Unstoppable mod, such as the Vouchsafe, and a Void linear fusion rifle, such as the Taipan-4fr.
| Art | Weapon | Type | Archetype | Rarity | Ammo? | Element? | Requirements | In loot pool? | Ammo | Element | Tier | Excels | Source | Craftable? | Requires | Released | Slot | Can be Crafted? | Best of? | Top Perk? |
|---|---|---|---|---|---|---|---|---|---|---|---|---|---|---|---|---|---|---|---|---|
 | Arbalest | Linear Fusion Rifle | Exotic | Exotic | Special | Kinetic | Lightfall | Yes | Best ❘ S | PvE | Exotic Quest | Lightfall | Season 6 | Kinetic | No | Top-tier | ||||
 | Vouchsafe | Scout Rifle | Lightweight | Legendary | Primary | Void | Free-to-Play | Yes | Average ❘ B | PvE | Shattered Throne Dungeon | Free-to-Play | Season 13 | Energy | No | |||||
| Taipan-4fr | Linear Fusion Rifle | Precision | Legendary | Heavy | Void | Free-to-Play | Yes | Average ❘ B | PvE | Gunsmith | Free-to-Play | Season 18 | Heavy | Craftable | Repulsor Brace |
As always, these are simply recommendations. if you have something in mind that you feel would work better, feel free to throw it on. With all that being said, let’s get into the strategy.

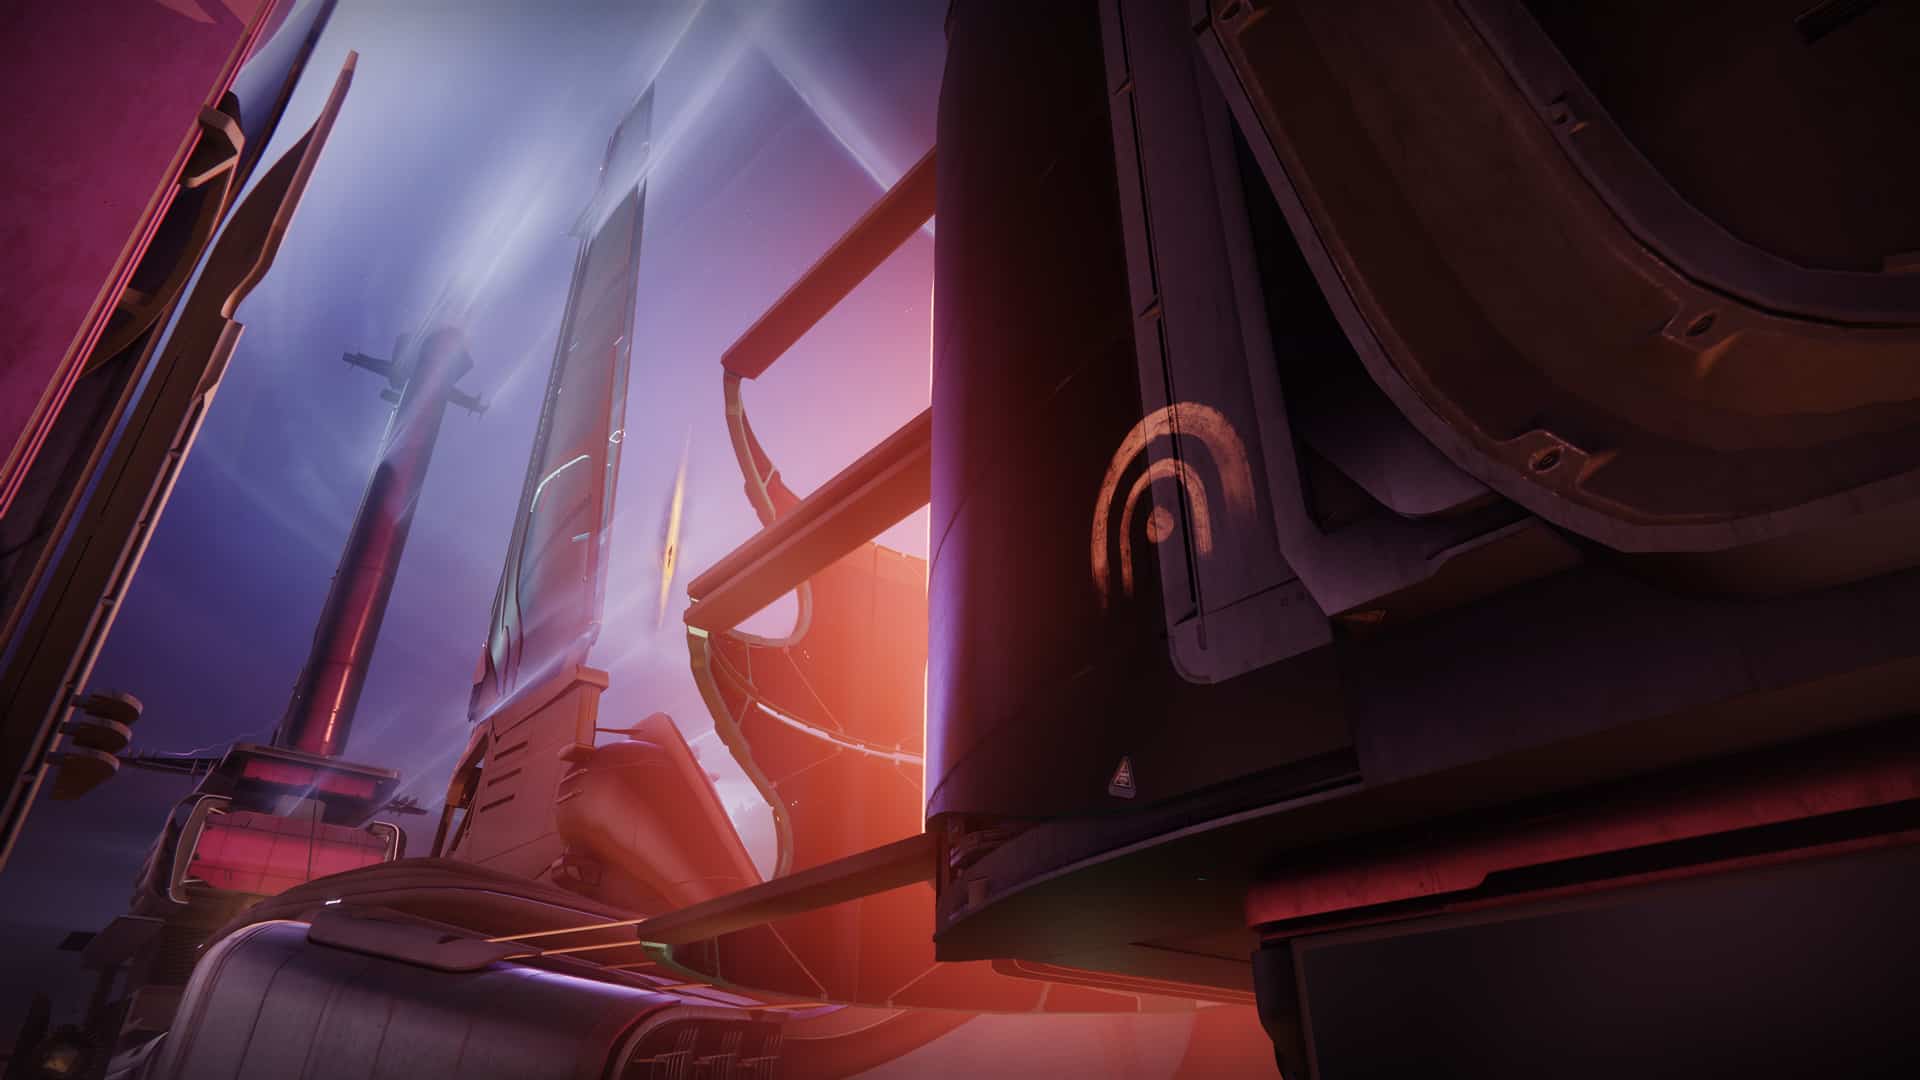
The Glassway Grandmaster Nightfall
GM Power Level
If you’re interested in running this GM, you need to have a proper Power Level:
| Nightfall Difficulty | Required to enter | Power Level of activities | Adept drop rate |
| Grandmaster | 1580 | 1620 | Common+ |
The Glassway rewards: Nightfall weapon
| Art | Weapon | Type | Element | Ammo | Rotation | Week # |
|---|---|---|---|---|---|---|
 | Uzume RR4 | Sniper Rifle | February 6, 2024 | Week 11 |
More Grandmaster guides for Season 19:
- The Insight Terminus GM
- Scarlet Keep GM
- Birthplace of the Vile GM
- The Corrupted GM
- Warden of Nothing GM
The Glassway GM guide
As The Glassway is a fairly straightforward Nightfall, this guide focuses on the most tricky sections:
Plate Capture Section
For the plate capture, hop off the plate and run back to your cover anytime a new wave of ads spawns. After killing them all, you can proceed with the capture. Rinse and repeat a couple times and you’re done.
Boss Room
Most definitely the most difficult part of the Nightfall, here you’ll tackle the entire encounter from the left side of the room, aiming to bait enemies through the middle choke point.
This boss fight has four phases, with each phase having two sub-phases. Phases are cleared by reducing the boss’ health bar.
Phase 1 begins with two overload minotaurs and the small boss moving into your room. Ignore the small boss and nuke the minotaurs, after which you can damage the small boss to 80 HP to enter Phase 1B, which will spawn two more overload minotaurs. You’ll then need to immediately damage the small boss down to 66 HP to phase him out while you deal with the Champions. After cleaning up the two new overload minotaurs and the rest of the room, damage the big boss to 66 HP to enter Phase 2.
In Phase 2, you’ll want to immediately rotate to the far left hallway to spawn-kill one of the two wyverns. Kill the other Wyvern and then damage the small boss to 50 HP entering Phase 2B. In Phase 2B, you’ll have to immediately damage the small boss to 33 HP before killing the two newly spawned Wyverns. Clean up the rest of the mobs and four barrier hobgoblins outside to enter phase three.
Phase 3 is the same as Phase 1, beginning with two overload Minotaur. After taking them out, you’ll damage the big boss to 50 HP to enter Phase 3B, then kill another two overload minotaurs before damaging the boss again to 33 HP and finishing off all of the other ads to enter phase four Phase 4.
Phase 4 begins the same way as Phase 2. Head over to the far left hallway to spawn-kill one of the two wyverns. Kill the other Wyvern and then the small boss to enter the final phase, Phase 4B. Kill the two Wyverns, followed by four barrier hobgoblins and, finally, the big boss.

0 Comments